
Every now and then, I need a break from dressmaking but not necessarily from sewing so little projects like this are a welcome distraction. I’m usually a last minute Christmas person but 2020 has thrown so many negative forces at us this year that Christmas has never been such a welcome festivity! Having only picked up sewing this year (my sewing machine was a gift last Christmas), I’m starting to see little projects everywhere I’ve already made the Christmas bunting (yes, I make bunting for every occasion) and have the fabric for my Christmas napkins which is another dark night project in waiting. I actually bought this panel weeks ago and it was being keep for a few weeks closer to Christmas but I couldn’t resist. Since I am working from home most days, if the weather is rotten I skip my lunch time walk and spend half an hour sewing instead. It’s probably the best thing about working from home – added that I don’t have to commute to the office and home again, I’m gaining over an hour of me time every day.
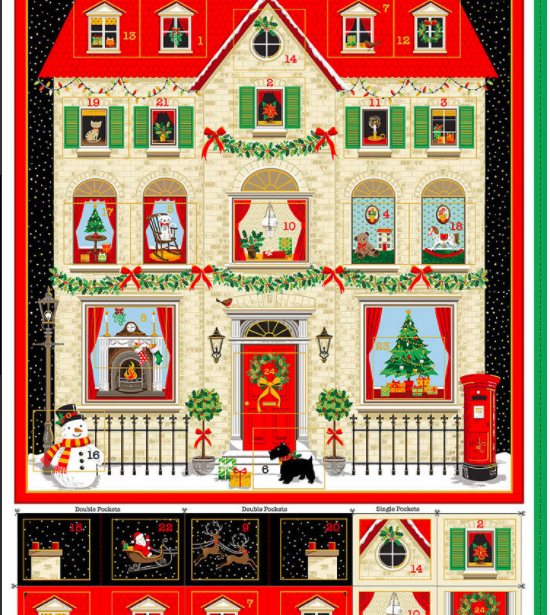
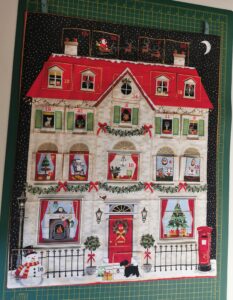
This is Makower’s 2020 Advent Calendar panel and is has everything that is quintessentially Christmas thrown in there – the mistletoe, the fire, the presents, the pets! I think it is particularly fitting for 2020 when ‘staying at home’ became the event of the year.
It’s a beautiful, simple project and a perfect introduction for anyone who is setting out on their journey of learning how to use their machine. If you are a beginner, you’ll also get a very realistic view of how prominent ironing is in the sewing world. I don’t particularly enjoy ironing and the laundry pile keeps growing while I iron fabric and seams quite contently. It doesn’t seem like a chore while you’re creating.
The instructions are printed on the panel so there’s nothing complicated about it. The only thing the instruction doesn’t cover is hanging the panel so you’ll want to bear that in mind before you sew your panel to the wadding and backing (supplies that you will need to finish this project).
How to:
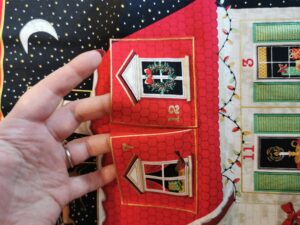
- Cut out the panel as well as the pockets – when cutting, you will see that there are individual pockets and dual pockets. Cut only the solid lines – the dotted lines between the dual pockets are for stitching on to the panel.
2. Press the top seam allowances on all the pockets and top stitch. You can just run them through the machine without cutting the thread. They can be separated at the end.
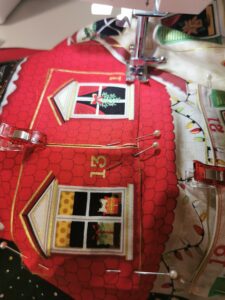
3. For the individual pockets, press the sides and bottoms in place and top stitch on to your panel.
4. For the double pockets, you’ll want to fold each pocket in to form a pleat at the centre; press. Follow by pressing in the sides and bottoms; pin in place and topstitch on to the panel.
5. Then you will want to stitch the broken line between the pockets – you won’t get right into the bottom but start as close as you can and stitch to the top of the pockets.
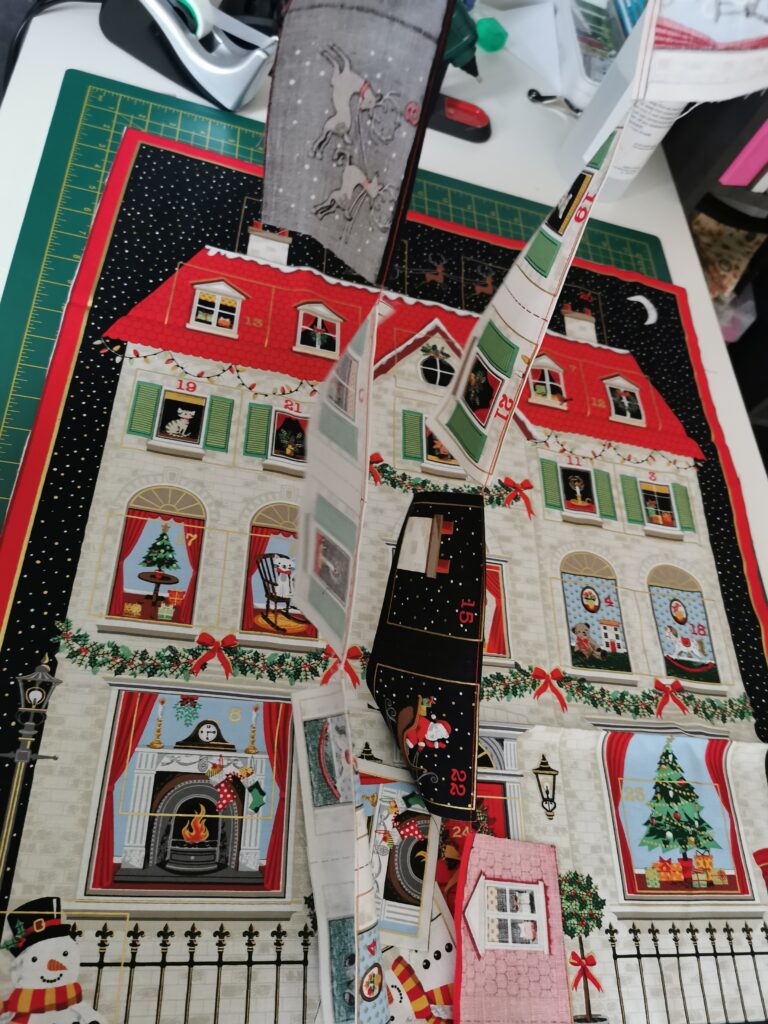
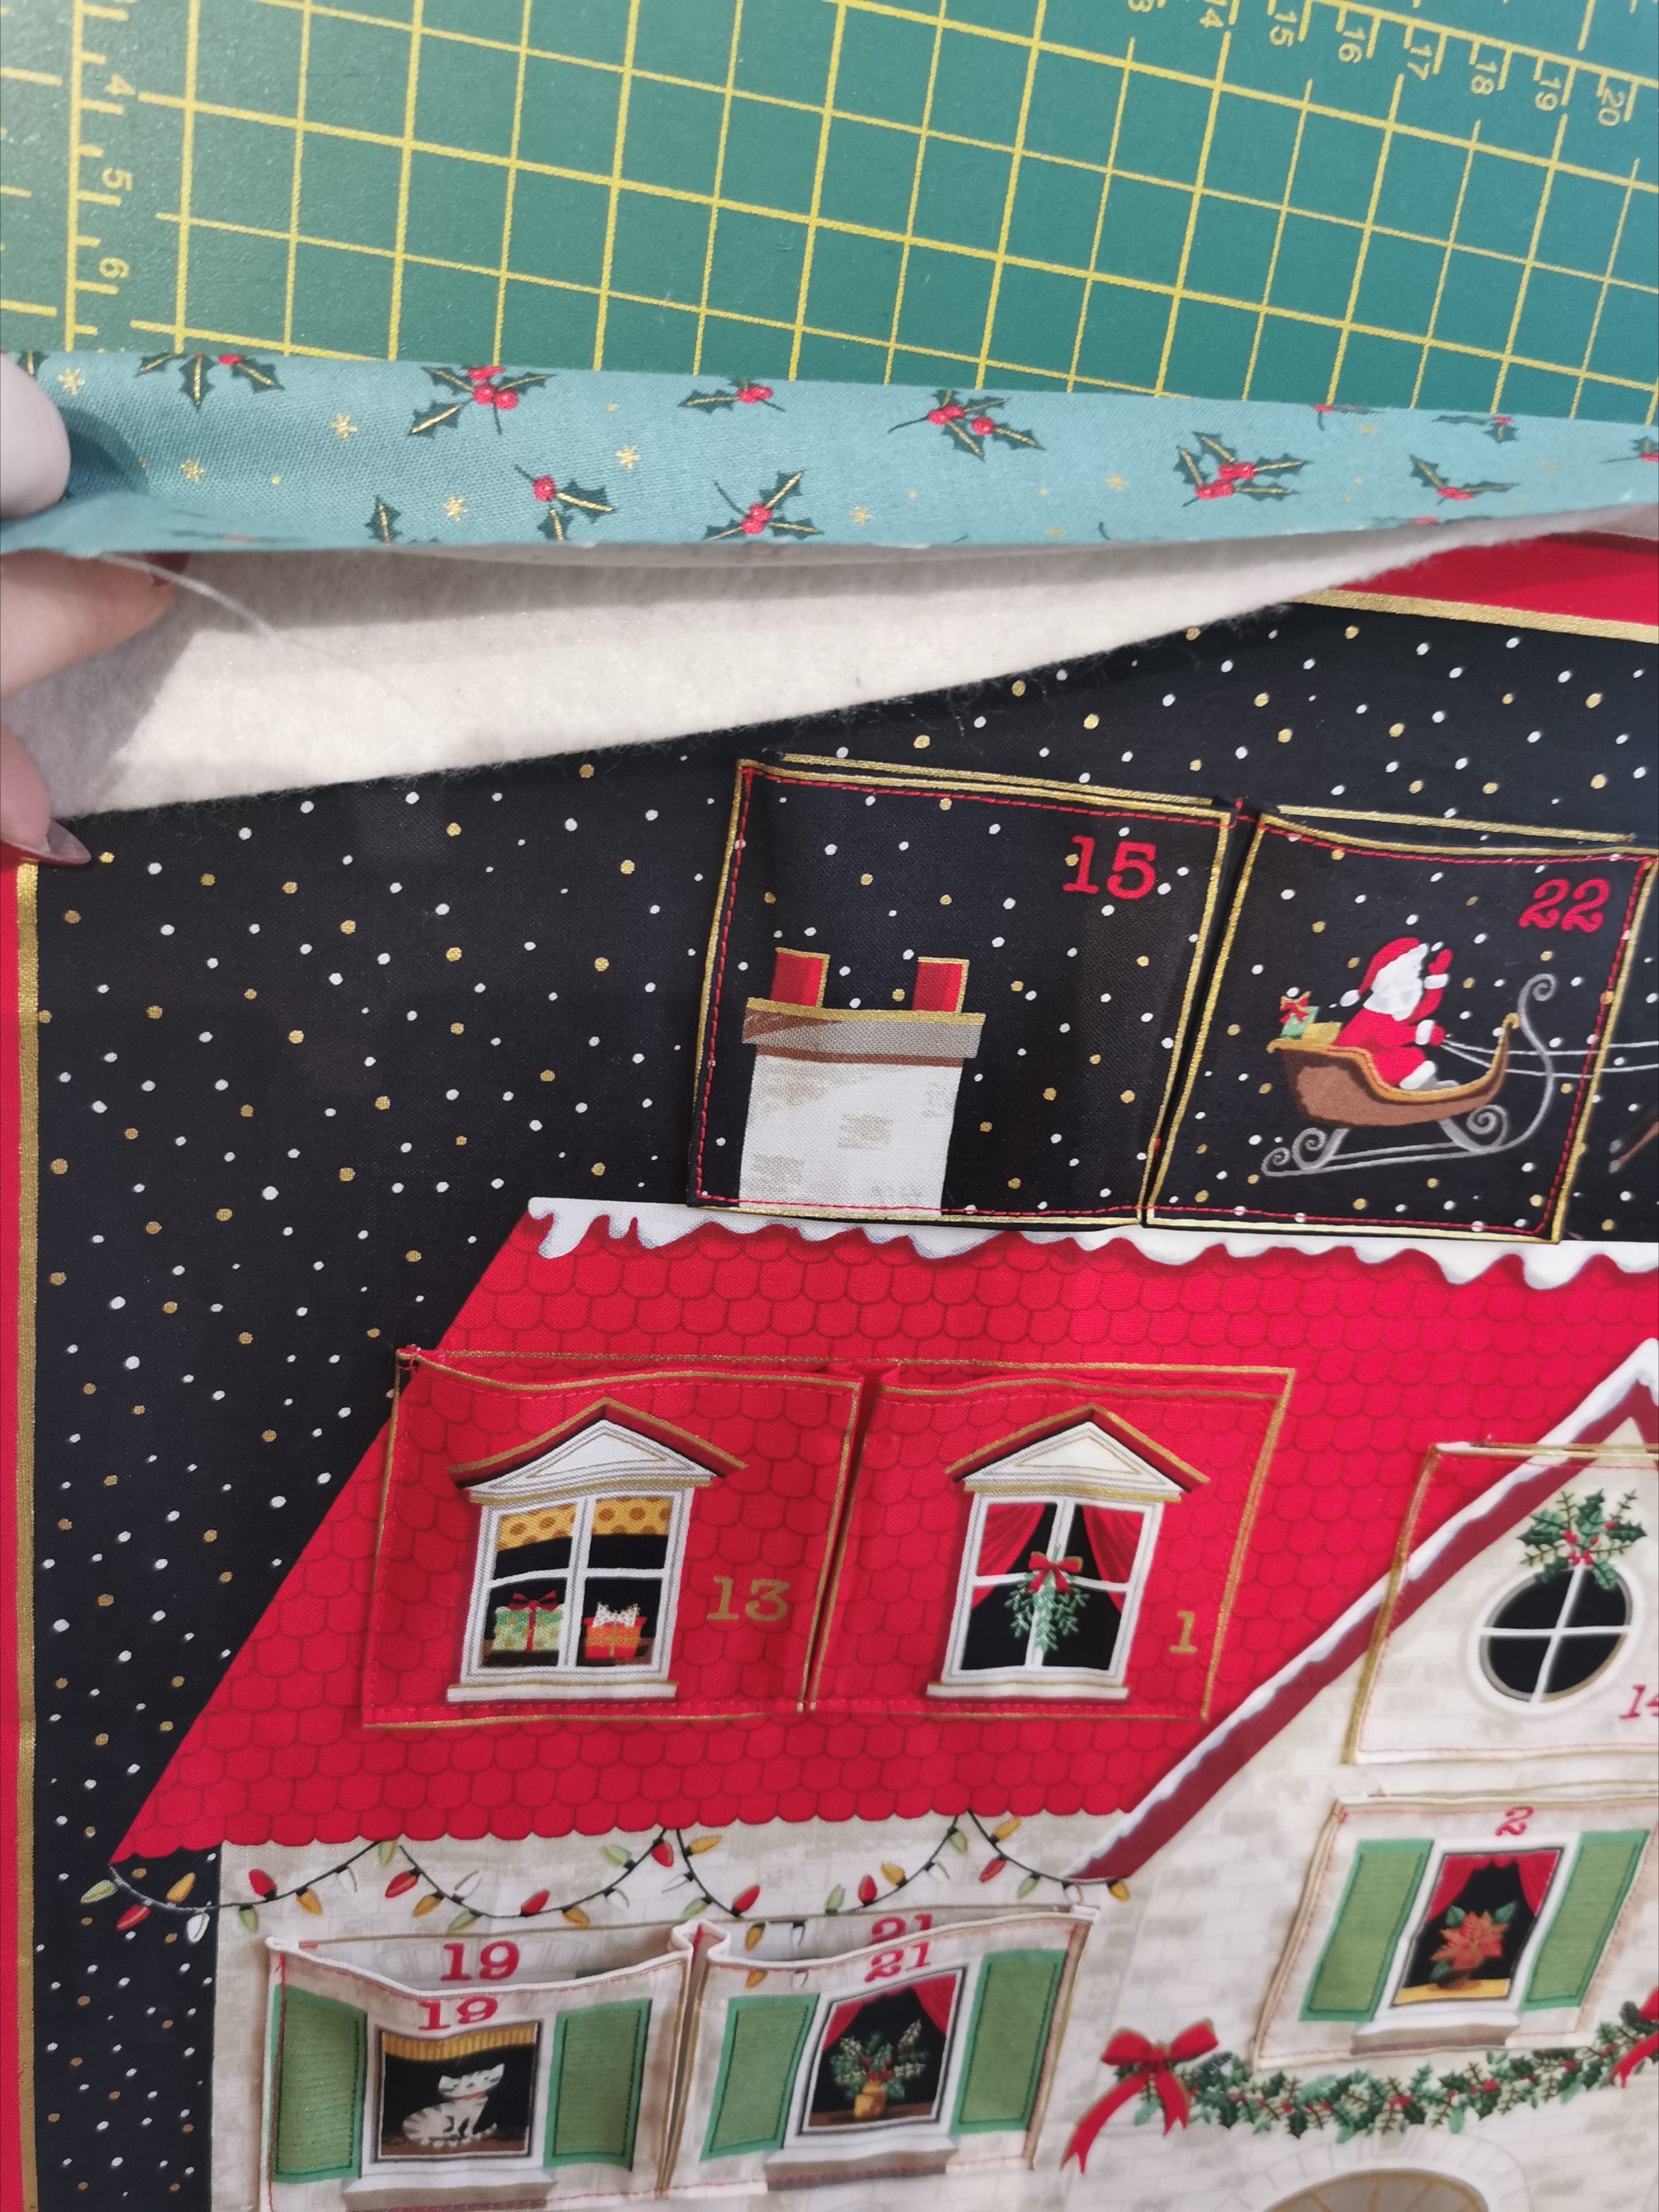
6. Cut wadding and backing fabric to the size of your panel – to get the size just right, lay the backing fabric right side down and the panel right side up with wadding between and cut around the panel border so that all three layers line up exactly. I’m using a Makower print for the backing fabric, too. I love the metallic gold accents.
7. If you are planning on hanging your calendar, this is the point at which you will want to make tabs – cut a piece of fabric 2″x6″. Fold long sides into the centre; press. Then fold in half and press again and stitch down along the long side. Cut in 2 so that you have a tab for either side; it will hang more neatly. Fold over, place 1.5″-2″ in and pin to the front panel, open sides facing out and lined up to the panel edge. They will be right side up when you turn the panel out.
8. Lay your backing fabric right side facing the right side of the panel which will be facing up (wadding will be on the bottom) and sew around the whole panel (use the edge of the presser foot as a stitching guide), leaving a 6″ gap at the bottom that will allow you to turn your calendar out the right way.
9. Turn the panel out, using a knitting needle or poking tool to get your corners nice and sharp.
10 Slip stitch your opening closed.
And that’s it. (Well, actually, it needs a bit of a press but that’ll wait until another day. Then it will be ready to fill with some luxury chocolates, or little personal messages and trinkets for 1 December.
I am not a quilter but if that’s your thing you could go ahead and quilt as desired around the advent calendar – there are some that lend themselves to a bit of hand embroidery, too, which I am doing on another panel at the moment. I love it as is, in this case. The wee bit of gold detailing does it for me.
I love this advent calendar.