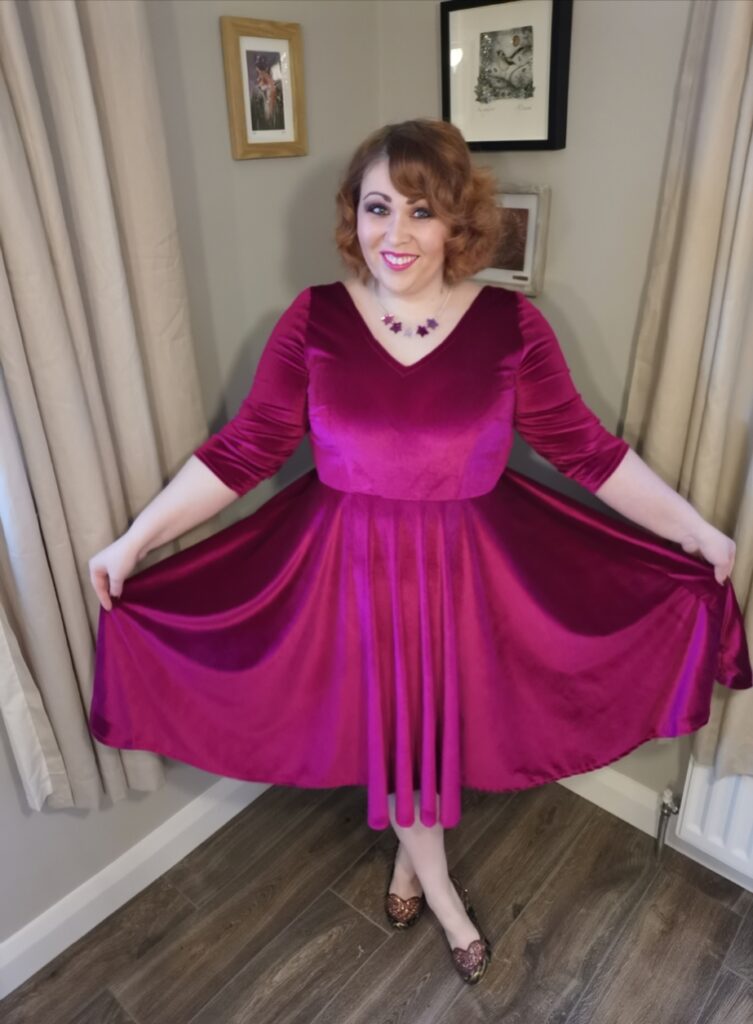
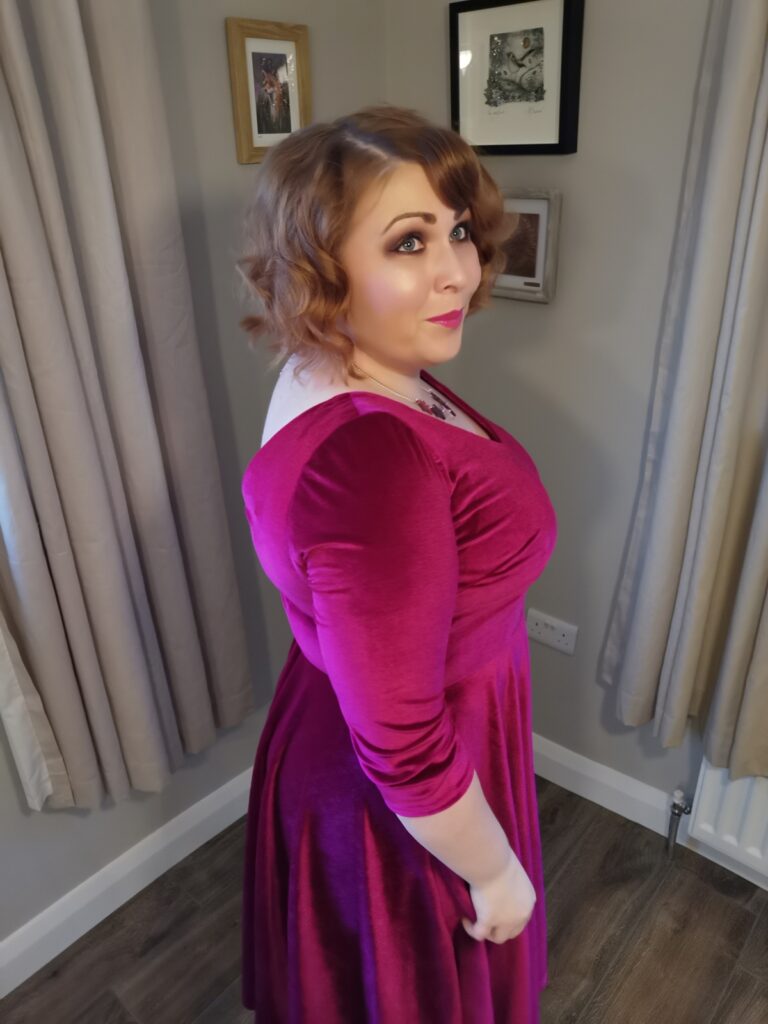
It will come to no surprise from anyone who follows my sewing adventures that the Sew Over It Betty dress is a firm favourite. When I saw this amazing cerise velvet on the Sew Anonymous website, I knew I wanted to set myself a challenge and adapt the Betty pattern.
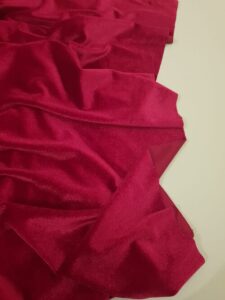
A part of me knew this was madness as I have so many lovely patterns suited to stretch fabrics but the other part of me just couldn’t resist a bit of sewing exercise. I did deliberate over trying the Tilly and the Buttons Joni dress but I don’t really like the twist at the bust. I just wanted a simple full skirted V neck dress – the fabric is so striking I didn’t want it clashing with design features.
I took an old RTW velvet dress with similar stretch and measured it at the key points; bust, waist, shoulder-shoulder and shoulder-waist. I matched these measurements to the finished measurements of the Betty dress (incidentally, 2 sizes smaller than what I made in the brocade and brushed cotton versions) and started from there.
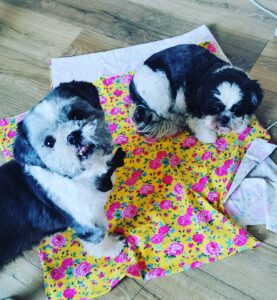
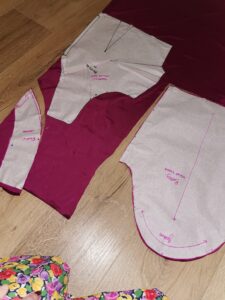
I used a few leftover pieces of a jersey in my remnants stash and mocked up the bodice. I cut the seam allowance from the back centre bodice and cut on the fold, choosing not to use a zip which can sometimes catch on velvet fabrics. I had a little canine assistance:
I found my usual problem still existed – too much gaping at the neckline so I made the appropriate adjustments to the pattern pieces.

The good angel in me should have made a second toile but the rebel won out and I cut into the velvet.
I used the V neck version (with sleeves) from the expansion pack. I love that all the work in making variations of this classic pattern has been done already in the add-on pack.
This was a learning curve in two mains ways (once you get the resizing out of the way):
- I have read that when sewing velvet to avoid darts which I totally understand but they went in and they look fine – I didn’t want to risk a total lack of shape by getting rid of them.
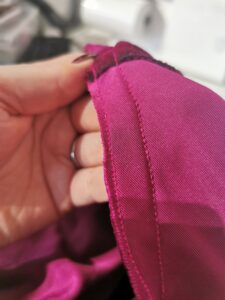
- Facing velvet is not a simple task – I made the rookie decision to face with the same fabric thinking if it was under-stitched I might get away with it; well, I had to topstitch it, too. Now that it has been topstitched I’m tempted to trim off the facing – I don’t think it’s even remotely essential – but the jury is out. Having to topstitch the neckline made the decision of what to do with the sleeve and skirt hem easier, though. For consistency, I topstitched everything! I did mull over the notion of hand stitching the hem – but that’s a lot of skirt…
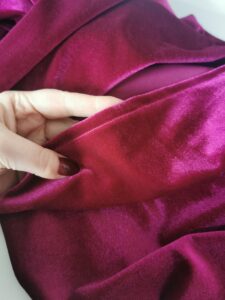
I did mull over the notion of hand stitching the hem – but that’s a lot of skirt…
One of the essential additions I made to the make was to add a channel for elastic at the waist – over time, the velvet may well lose shape but by adding an elastic (it’s only 3mm) it will help to make the garment last and it makes no difference to the fit.
The fabric itself was an absolute dream to work with – velvet fabrics sometimes get a bad press; it’s said to be messy, hard to cut due to its slippery nature, hard to feed through the machine.
This fabric cuts so easily; I even managed it on the fold. It’s recommended to cut velvet flat lay but lots of pins were sufficient in this case.
I used an all-purpose foot (although everywhere I read recommends a walking foot) and ballpoint needle and didn’t have a single issue. It feels as rich to handle as it is in colour. I’ve already ordered the navy colour way from Sew Anonymous, which will likely be turned into a Sew Over It Eve dress. Watch this space!
