
The NI Executive is now recommending the use of face coverings in enclosed public spaces like shops and when using public transport. I thought I would dig into my cotton fabrics and make some of my own for myself and my family.
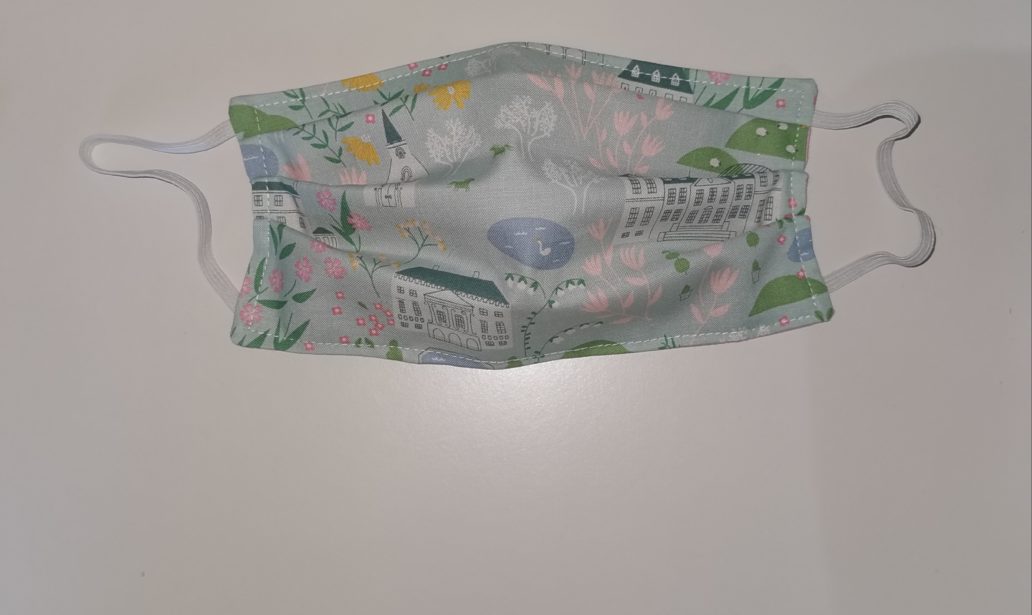
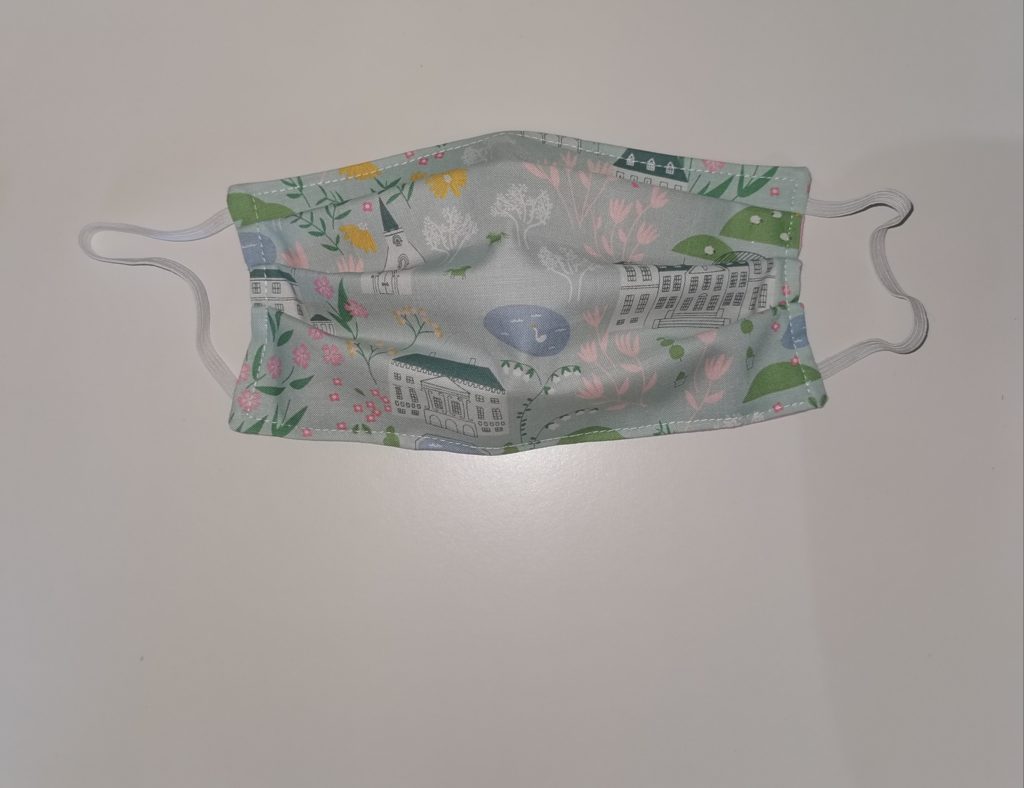
This is the simple method that I have used; a two layered, pleated mask with elastic.
Please note:
Guidance on the effectiveness of masks varies constantly and is often changing. This is only intended for personal use and is not designed to be medical grade – these kinds of face coverings should not replace hand washing and social distancing measures. You may or may not think this is for you, but it won’t do you any disservice to use one.
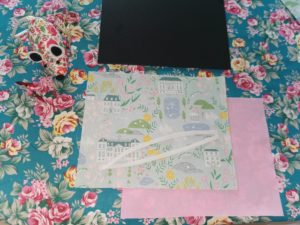
What you will need:
- Fabric – the tighter the weave the better. I use medium weight 100% cotton, designed for quilting – mainly because the choice of patterns and designs are endless. NB. Make sure to wash your fabric before you begin! This will remove any shrinkage that may happen – you will need to wash your mask after every use so this is important.
- Thread
- Pins
- Elastic (I’ve used 3mm and 6mm braided elastic) or ribbon (which can be good for children who struggle with wearing a face mask)
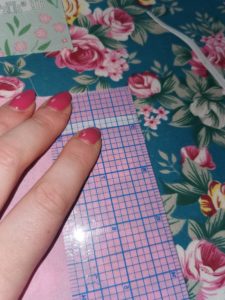
There is no complicated pattern for this (although there are a lot of those out there): all you need are two rectangular pieces of fabric which measure 9 inches x 7 inches (remember, this is adult sized – you will need to make adjustments for children) and two 7 inch lengths of elastic
Pin your elastic pieces about 1/2 inch down from each corner of your lining piece.
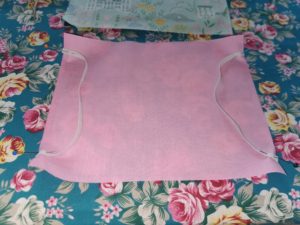
Place your top fabric face down on to the lining piece, covering the elastic pieces and pin into place.
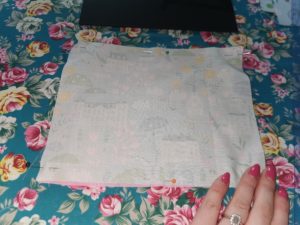
Sew all around the rectangular pieces, backstitching over your elastics to secure them tightly. Remember to leave a gap of around 2 inches to turn your mask right side out – you will top stitch over this later.
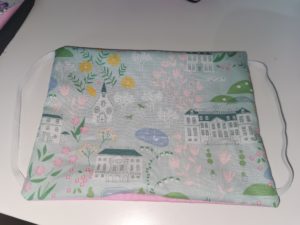
Trim the corners and turn right side out.
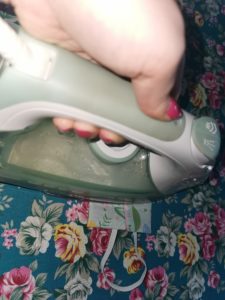
Now it’s time to make the pleats – fold your rectangle in half and press. Then fold the top and bottom into the centre and press. This will give you guide marks for pleating. Some people measure these precisely – it isn’t necessary.
Pull each of your folds up and pin in place.
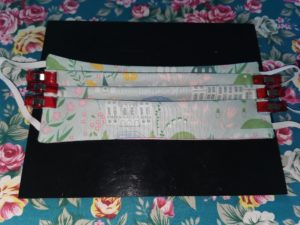
Topstitch the entire mask.

That’s it – it’s very simple! If you have a machine in the house collecting dust, now is the time to get it back in action.
P.S. It almost killed me cutting into my Pemberley fat quarters so if you get one of these, know I like you very much.
Her needlework was exquisite. We have seen a muslin scarf embroidered by her in satin-stitch, and have held in our hands a tiny housewife of fairy-like proportions, which Jane worked at the age of sixteen as a gift for a friend. It consists of a narrow strip of flowered silk, embroidered at the back, which measures four inches by one and a quarter, and is furnished with minikin needles and fine thread. At one end there is a tiny pocket, containing a slip of paper upon which are some verses in diminutive handwriting with the date “Jany. 1792.” The little housewife, when rolled up, is tied with narrow ribbon. Having been never used and carefully preserved, it is as fresh and bright as when it was first made.
From Jane Austen: Her Homes and Her Friends by Constance Hill. In Chapter XX, Constance makes this observation about Jane Austen’s skill as a needlewoman