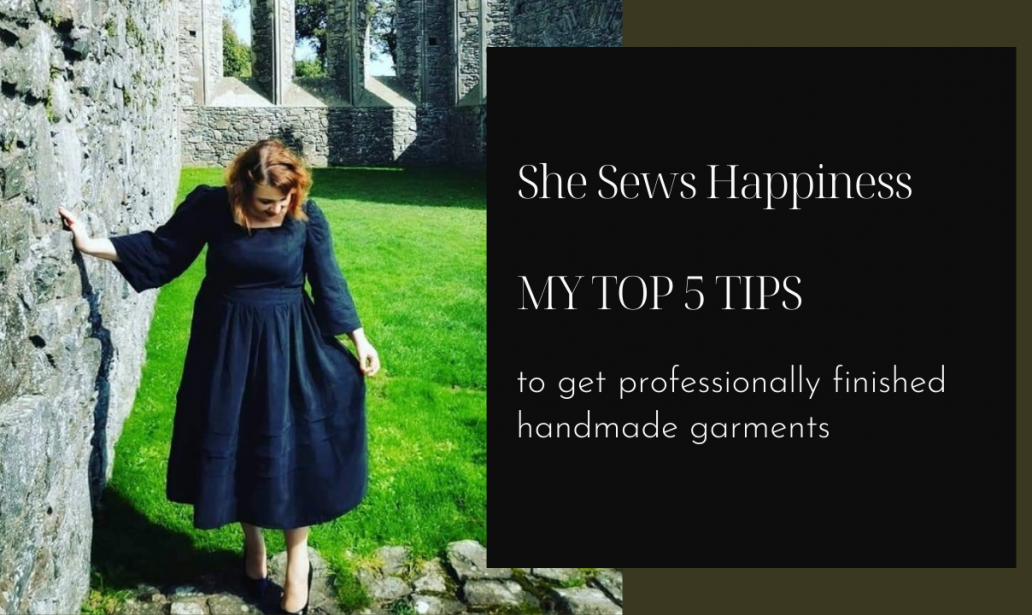
I have had a lot of people tell me they are surprised I have been sewing for less than two years because my clothes look so professionally made – it’s such a beautiful compliment to receive and if you’re reading this and you’ve been one of those people, know you have made my day. I’m not going to undermine the fact that I work hard to make my clothes look ‘well finished’ but there really are a few key things you can do to ensure a professional finish to your garments.
Whether you’ve been sewing for 2 or 20 years, these are 5 things I don’t think you can skip if you want your handmade garments to look really professional.
1. Measure
I take my measurements on a regular basis as I do tend to fluctuate. I use those against measurement charts (and finished measurement charts) but with the awareness that they really are only a starting point.
One of the things that really annoys me is when someone starts complaining that the pattern – straight out of the packet – wasn’t drafted for them. Whether through naiveness or sheer ignorance, if this is the approach you’re going to take to sewing, you might as well buy ready to wear fashion. If, like me, the poor fit of RTW garments was an instigator to start sewing, you’re going to want to toile and labour over the fitting process.
I know, it’s not what anyone wants to hear – me included – but to achieve a good fit, it is essential. That magic pattern that fits perfectly without work is an illusion.
I know some days I really just want to sew for pleasure without the work – that’s what the toiled and tested patterns are for and I do revisit them often – but before I make a new-to-me pattern, I have to be prepared to do the work. That way I can make sure I have no gaping neckline, my bust isn’t squished, my sleeves fit, etc.
2. Press
I cannot emphasise this enough – if you take anything away from this blog, let it be this: the iron is the best friend of the seamstress.
That’s not to say, when it comes to laundry, I’m in any hurry to attack the ironing pile; but when it comes to my sewing, I press religiously.
I’ve had people tell me that sewing slows down the sewing process – they are right, it does, but when we make our own clothes we are participating in slow fashion. I’m not interested in McDonald’s sewing – we’re talking about getting as close to couture as we can.
Those creased pattern pieces you have pulled out of an envelope – iron them.
The prewashed fabric that has been lying in your stash – iron it before cutting.
Every single seam you stitch, press it.
Darts – press them, and when you do, use your tailor’s ham so you can press some shapes into those darts – our bodies aren’t flat so our darts shouldn’t be, either.
And if you don’t have a tailor’s ham, it’s worth investing in one; it’s pretty easy to make one with smaller remnants from your stash.
If you don’t bother to press your garments, it will show. I’m not even that experienced a seamstress, but I can always tell the difference.
3. Understitch and Staystitch
The same goes for stay stitching and under stitching; it is always visible when these steps have been skipped. Even if patterns don’t stipulate using these techniques, I utilise them anyhow. I think this is one of the things that comes with experience – you learn to adjust the pattern instructions to make them better sometimes.
A couple of things that are changed dramatically by doing under stitching and stay stitching:
Facings – if your facing keeps popping out, it is because you haven’t under stitched
Necklines (or anything cut on the bias, for that matter) – if you’re sewing and discover that the pieces don’t line up, chances are your fabric has stretched. If you take time at the beginning of a project to staystitch, you wouldn’t have any of these soul destroying moments.
4. Take care with seam allowances
Paying attention to your seam allowances is important – and I don’t just mean when sewing your project. Most patterns tend to have a 5/8” seam allowance, knits a 3/8” allowance – but never take this for granted. Always check the instructions because they can often vary within a pattern or change at any time.
What is equally important is how you finish your seam allowances – if you have a curved neckline, for instance, and you discover that it is poking out (even after you have under stitched) chances are you have missed a key step; grading and notching your seam allowance – this reduces bulk and allows the garment to lie flat. This is important for collars, too, particular when curved.
5. Be careful when cutting
I know this sounds obvious, but you’d be surprised how many people I know who cut corners at this step. Whether you are on team scissors or team rotary cutter, (personally, I haven’t used a rotary cutter for months and months, even with more slippery fabrics), accuracy is key. Whether you use pins or weights, the key is more is to use more. I pin carefully all the way around my seam allowances (and only my seam allowances as I don’t want to risk snagging my fabric).
Honestly, the sewing is the easy part. Anyone can use a sewing machine. My 8-year-old niece can work a sewing machine. The key to making beautifully finished garments lies in the prep work. I take no pleasure from the cutting out stage – it’s a real chore for me – but the accuracy of your cutting is where you make sure all your pieces line up well together, resulting in a flawless looking garment.
There are many other things you can do to ensure a professional looking garment but, as far as I am concerned, these are the best ones to work on first.

