
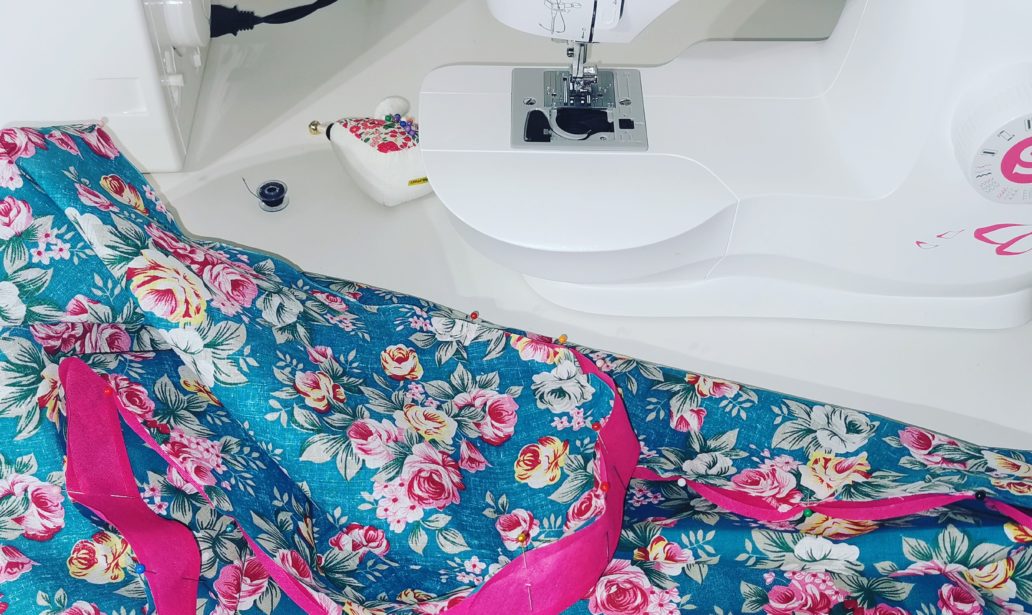
What they never tell you before you take up sewing as a hobby is that it involves a lot of ironing… It is surprising how your most hated chore becomes tolerable once it’s an essential part of a sewing project.
My ironing board was a bit drab (still covered in the bland cover it came with), not to mention covered in ghastly stains (which are inevitable over time) and interfacing residue. I have made a pledge to not purchase something that I can sew myself so I rummaged through my scraps and found a piece of fabric big enough to construct a more colourful cover for the ironing board. When you think about, the bland covers that come with ironing boards really don’t do much to make the chore less bleak.
This was such an easy project and it really does make the sewing room even more cheerful now that it doesn’t have to house a grubby looking ironing board.
One can dream so much better in a room where there are pretty things.
Lucy Maud Montgomery, Anne of Green Gables
This is just as true for creating as it is dreaming.
For anyone who is starting out in their sewing journey and wants to turn their hand at a practical make, then the following tutorial is perfect for you.
You will need :
- Approx 1-1.5m 100% cotton fabric
- Heat protective wadding (or you can reuse the stuff that is already on the ironing board if it is still in good shape, which is what I did)
- Bias binding (just over the length of the circumference of your ironing board)
- String (a few inches longer than the circumference of your ironing board and you may be able to use the string from your old cover, as I did)
- A safety pin
- Sewing machine and basic tools – a washable marker or tailor’s chalk and a ruler
- OPTIONAL: Elastic to secure
HOW TO:
Remove your old cover and lay your ironing board on your fabric – draw around it, leaving a 2 inch gap from the edges.
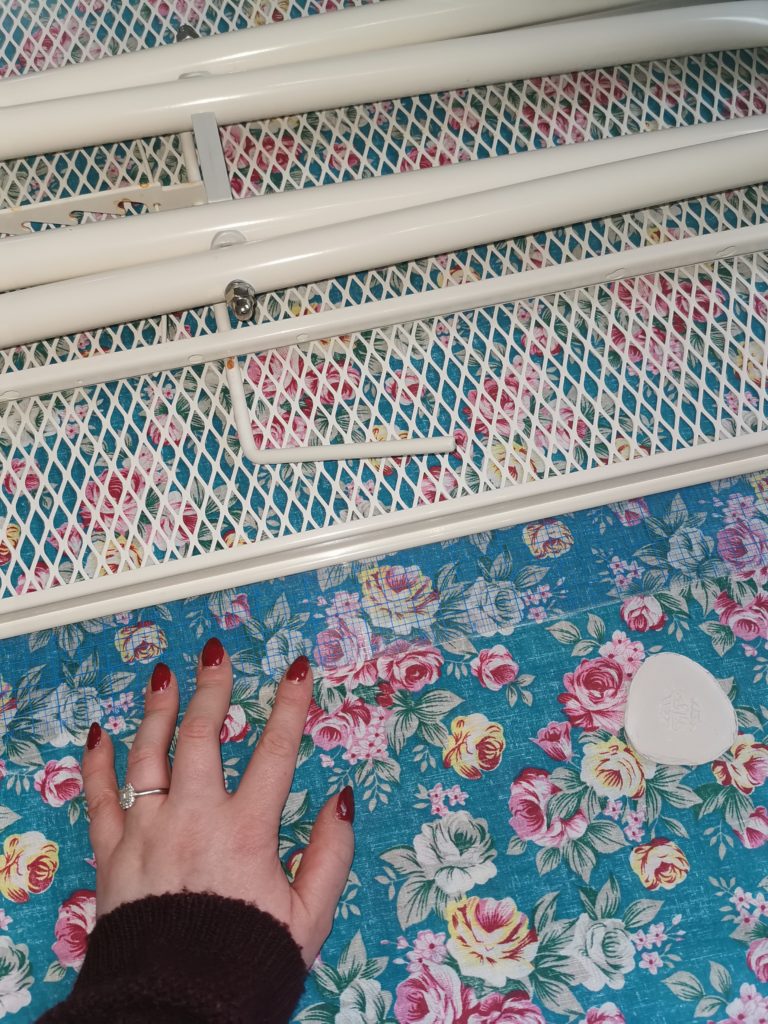
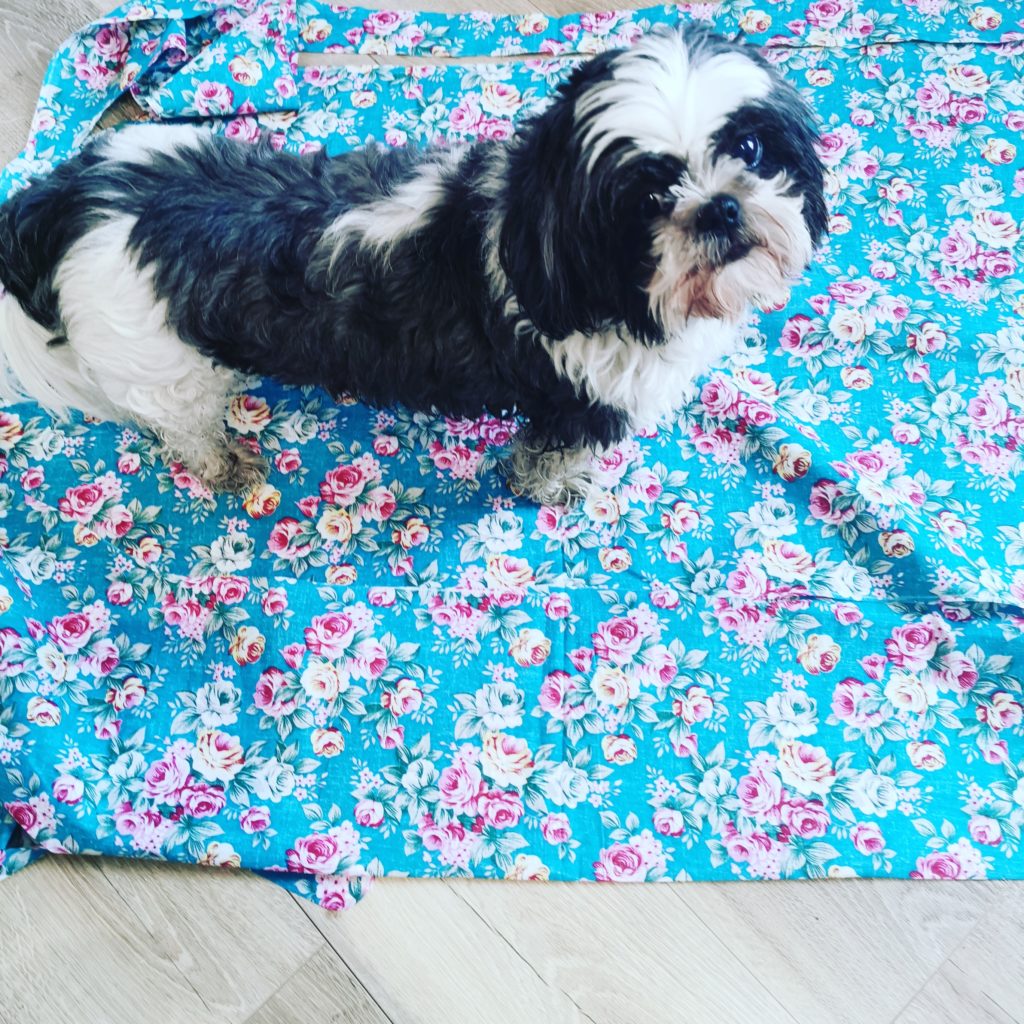
Cut the marked shape out of the fabric (if you are replacing the wadding, cut it the exact same size as your board). I had a little assistance.
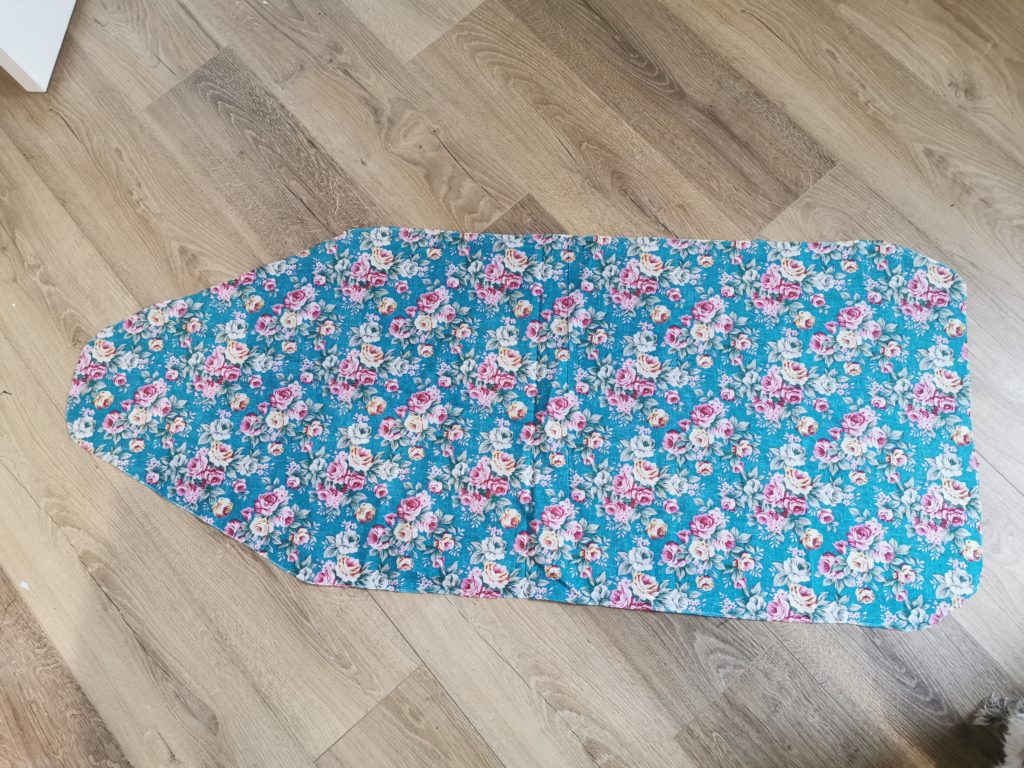
Open the bias binding and press one of the short ends in by approximately 1/2″, wrong sides together. Open out one of the long sides and pin the bias binding to the fabric, right sides together. Stitch along the bias fold line on the raw edge, stopping approximately 1″ where you began. Fold the end of the bias in as you did at the start and stitch in place.
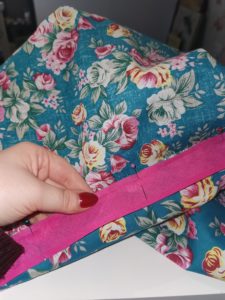
Press the binding towards the wrong side of the fabric and pin. Stitch the binding into place, approximately 1/8″ from the inside edge.
You have now created a channel through which to run your string. Attach your string to a safety pin and guide it round the channel. You will end up with something that looks like a shower cap fit for an ogre(ss).
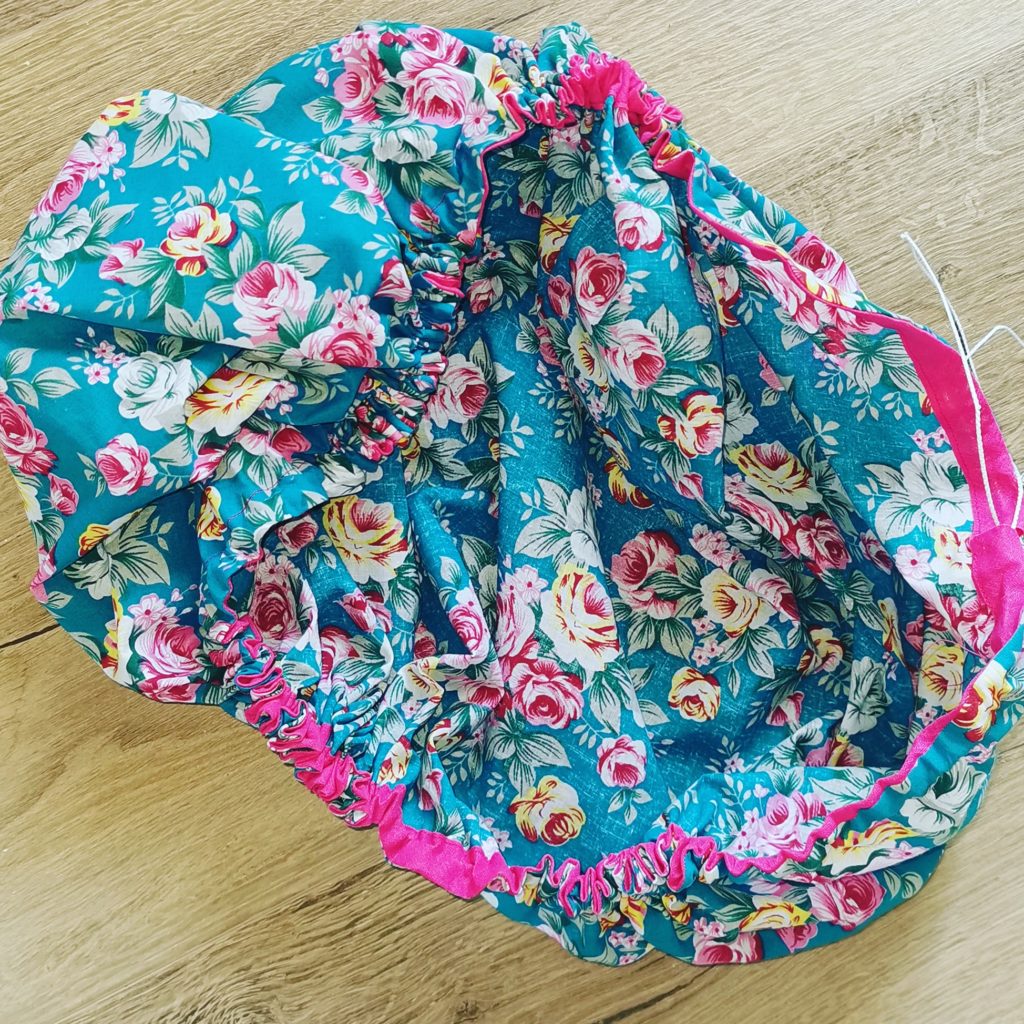
Distribute the gathers until they cover the board and then tie into place with the string. You may want to stitch on a couple of pieces of elastic to hold it more firmly in place.
All that is left is to give it a good old press – yes, really, I’m telling you to iron your ironing board cover. You’d iron any other finished project, wouldn’t you?
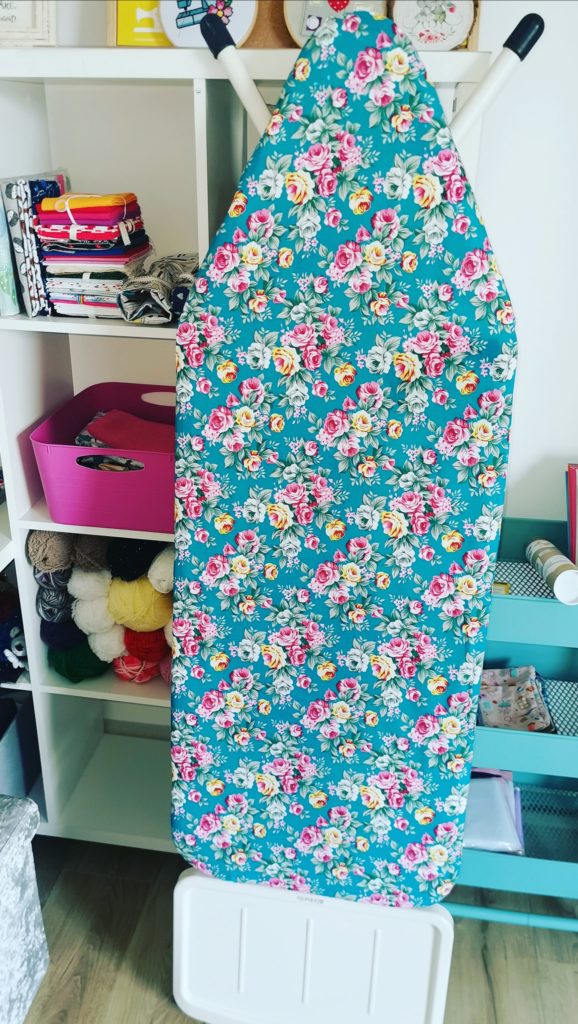
That’s it – minimal effort, maximum impact. It is definitely a much brighter addition to the sewing room.
1 comments on “Revamped ironing board”