
“No woman really knows anything about men’s clothes. How could she? After all, she’s conditioned to obsolescence, to the principle that things go out of fashion. Well-dressed men know that nothing worthwhile is ever outmoded, that a superb tailor’s work is ageless”
— Finis Farr (American Author)
I’ve been meaning to sew some garments for Simon for a while now. I think reading these words set a fire underneath me. Finis Farr, best known for his biography on Margaret Mitchell, author of Gone With the Wind, made a generalised, lazy, dismissive comment about women, obviously forgetting to account for women who sew… we are certainly not “conditioned to obsolescence” or predisposed to letting things “go out of fashion” – in fact, we make clothes that will last and, for those of us who love vintage styles, we are busy bringing things back into fashion!
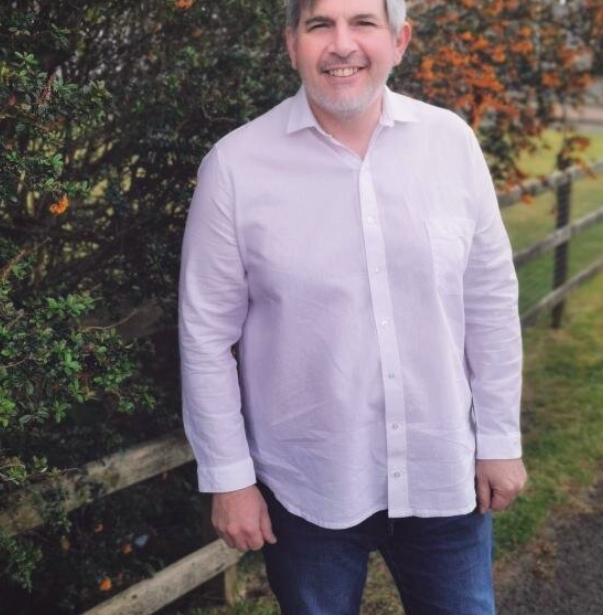
Simon recently told me that I have no room left in any of my wardrobes for more clothes, adding that, if I’m going to keep ordering fabric, I may order a few dozen more hangers for the closet while I’m at it. This was quickly followed up with another not so subtle hint that he had plenty of room in his wardrobes, not least since there are some snug garments in there after a year in lockdown…
He hates shopping so I am usually the one who buys his clothes but since I have started sewing my principles have become very engrained. Firstly, clothes make you feel much better if they’re custom made because they look better. Secondly, as someone who took up sewing as a matter of conscience, unable to buy ready to wear fashion knowing the human cost, the thought of buying clothes for someone else was equally as uncomfortable for me. I get a lot of requests from people to buy custom made clothes from me, but I really don’t want to lose my love of my hobby by going down the road of my hobby feeling like work. I sew for me, but I suppose Simon can be the exception to the rule.
While we are on the subject, I am not saying that selfless sewing is something we all should feel obliged to do – and I would also like to underscore that the term ‘selfish sewing’ should never be uttered. I hear people talking about selfish sewing sometimes or how they feel guilty and self-indulgent and I always find myself biting my tongue because I don’t think you can call any hobby selfish. Making time for yourself to sew garments that make you look amazing and feel amazing is just a form of self-nurture, not indulgence. Anyhow, I digress…
I made a couple of Elbe Textiles Sage Tees to ease me into the mindset to make men’s garments – you can’t go wrong with a basic tee. They’re a wardrobe basic and pretty forgiving on the fit (have I mentioned I love sewing with jersey?) so they are a great place to start if you want to make something for the men in your life. I should say, I cannot believe it’s a free pattern! It’s brilliant – it’s a basic, semi fitted t-shirt with a crew neck and short sleeves.
Simon hates fitted t-shirts, so I figured this pattern was worth a shot. This pattern is just as good for lounging around the house in as it is a casual day staple – there’s a lot to be said for super comfy clothes, especially these days with life having us at home more and enjoying simple pleasures like picnics and country walks. The size range of this pattern is great, spanning 8 sizes. I up-sized because Simon gets annoyed with regular tees (especially as he doesn’t find the length to be long enough) but this does involve manipulating the neckline a little so that it doesn’t sit too loosely. As an added bonus, you could easily use this pattern as a unisex pattern. The Sage tee is a really satisfying make – you can make it within an hour. I knew better than to expect my first foray into shirt making to be a quick sew.
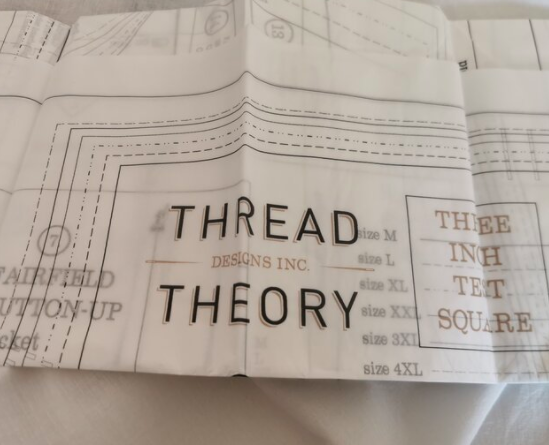
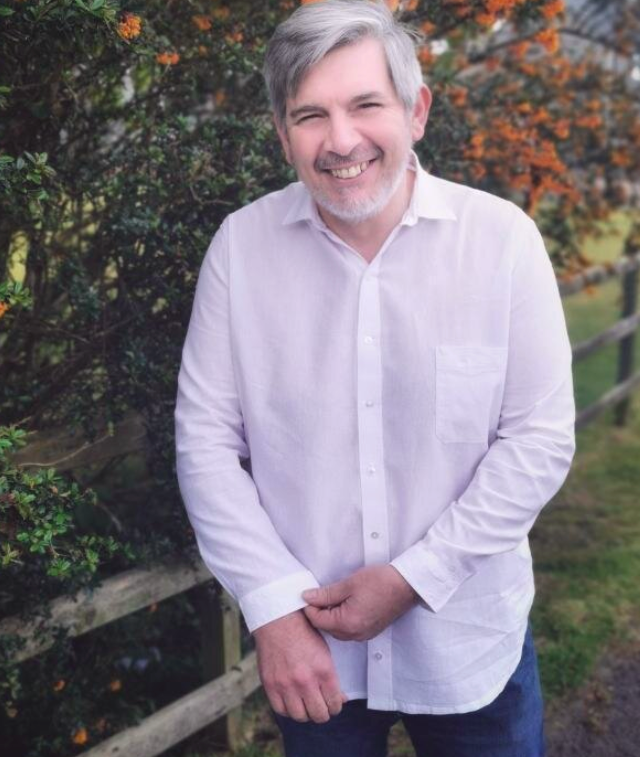
The shirt pattern I chose was the Fairfield Button Up Shirt by Thread Theory.
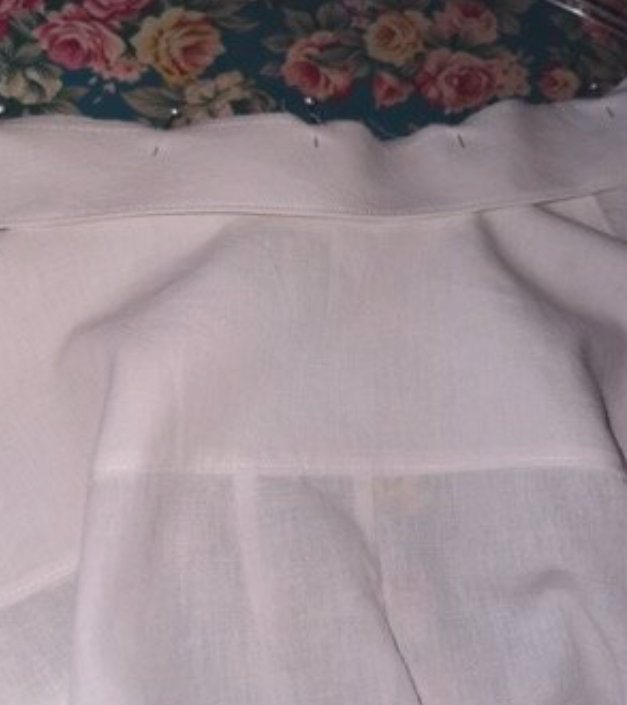
I decided to play it safe in case my endeavours were disastrous. I ordered some off-white cotton/linen shirting fabric and set to work on what I hoped would be a wearable toile. White seemed like a pretty good starting point as it would show up all the markings easily. When I toile for myself, I usually use a calico for that very reason. I have some black Irish linen which is what the final version of the shirt will be made from, but I still haven’t found a decent chalk pen for marking black fabrics. If you know of one, please leave me a comment below…
One of the best things about this pattern is that it offers the option of both slim fit and regular fit with darts and pleats respectively. The pattern is also graded for two body types; slim / average figures and larger figures with pieces that accommodate a rounded stomach. Personally, I don’t think I needed to make the latter based on the charts but that’s what I was instructed to make – as long as he’s happy with it. His main concern is length – he hates clothes that don’t feel long enough, especially shirts that are being worn over jeans.
Shirt Construction
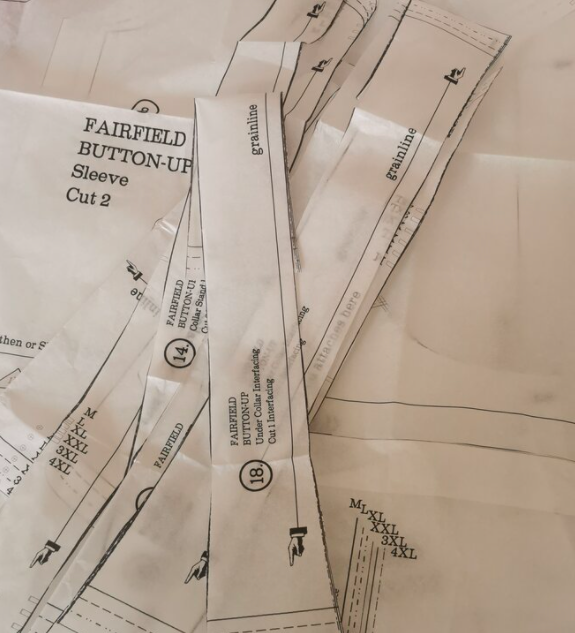
The first thing I noticed about this pattern was the number of pieces (18! but 5 of those are interfacing pieces) required to make the shirt.
It was almost enough to put me off… Almost. I’d committed to making it so I couldn’t disappoint. With retrospect, it’s totally manageable – in fact, it took longer to get Simon in front of the camera than it did to make it – and even though this is a wearable toile and not the most perfect thing I’ve ever made, I’m really proud to have finished it. I know that the next time I make it, I’ll be able to perfect it. I’ve never had so much practice edge stitching and topstitching.
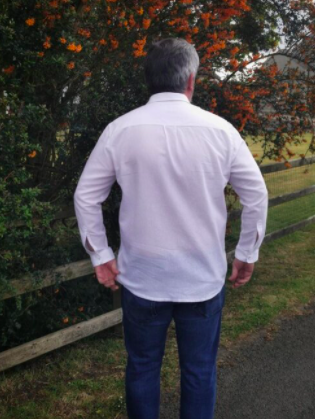
I’m so glad I chose this pattern for my first shirt and would recommend it to anyone who is making a shirt for the first time. I’d definitely make other Thread Theory pattern based on my experience with the Fairfield. The instructions are illustrated and clear but if there’s anything that has you a bit puzzled (I had a few of those moments like when it came to flat felled seams and the burrito method for assembling the back yoke) Thread Theory have an amazing sew-along with photographs.
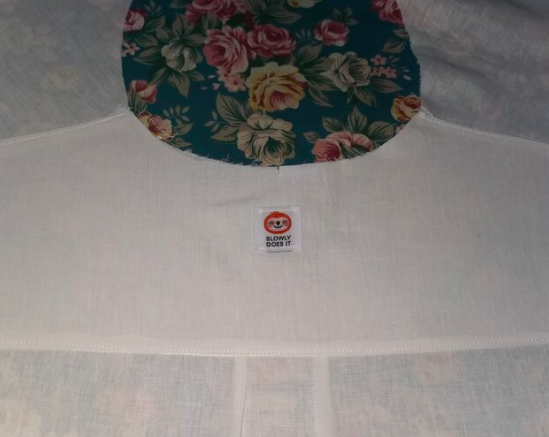
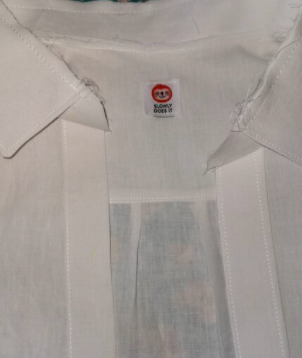
I worked between the two to make this garment and the seam ripper only made an appearance once. The pattern designers have put a lot of working into researching the most beginner friendly methods of shirt construction. They have even considered how formal or casual you want the shirt to be; I went for a more relaxed style so only one of the collar and cuff pieces have been interfaced in this version.
I think shirts could easily become the kind of thing I really love to sew. I should have counted the times I gave myself a metaphorical pat on the back while making this – there were so many little techniques that were new to me – I felt so satisfied that I was learning as I sewed. For me, that’s one of the best things about sewing – there’s always something new to learn and another accomplishment to make. I really started to enjoy making this once I was in the flow of it – all the external edges are enclosed and topstitched down so you get the satisfaction of an incredibly neat finish both inside and out – there is no need to finish seams or thread up the overlocker.
The flat felled seams were a total revelation. The side and arm seams were great fun – I could never have imagined it was possible to flat fell an arm seam by ‘stitching in a tunnel’ – I really doubted it would work but it does! The satisfaction I got from this is even greater than that time I used French seams! It made me really respect tailoring and the techniques that are involved in making men’s shirts. It also made me wonder why women’s shirts don’t feature the same kind of detailing…
Another first for me was the burrito method of joining the yoke lining to the yoke – it’s one of those techniques that it’s hard to visualise until you’ve done it and then the magic becomes real.
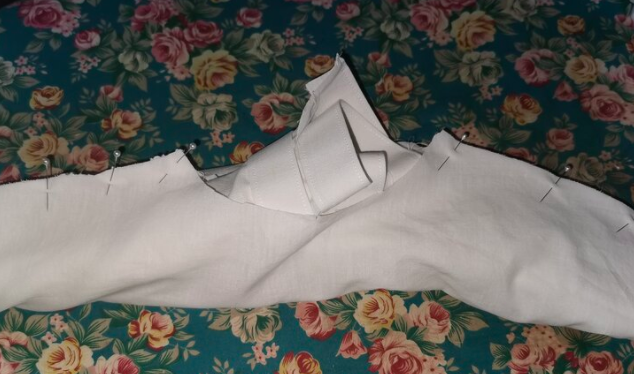
Another magical moment was when the sleeve plackets came together – this unusual grided pattern piece filled me with dread and, to be honest, I had to read the instructions three times before I had that eureka moment. This is probably the one pattern piece that needs the most care and attention – if one of those lines is out you’re going to have a bit of a nightmare getting a good finish on the placket so do take your time marking those pieces if you’re going to give this pattern a go.
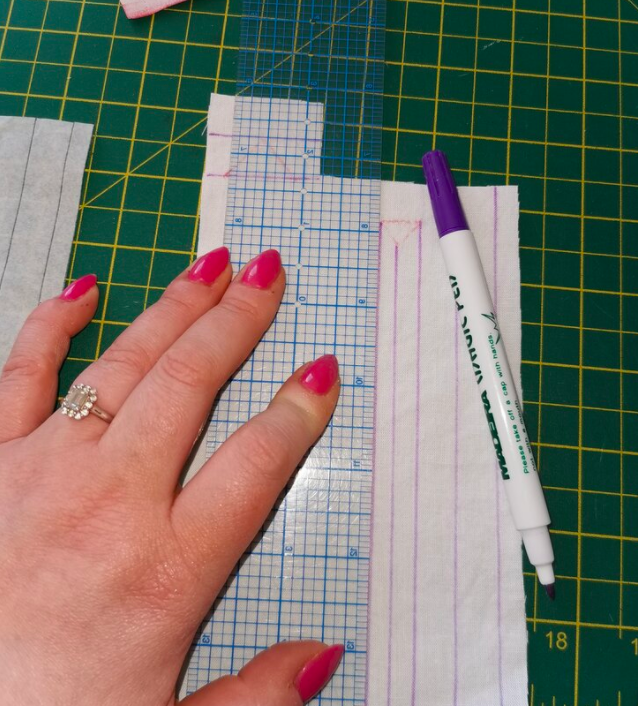
I would also be curious to try out a checked or striped shirt as this placket piece would be easy to match up with all the lines. I have to say, collars might not be new to me, but this was the first time I used a pattern with a collar stand – I love the process of setting in a collar!

I’d say the fit of this pattern is pretty true to size – the only adjustment I will have to consider when it comes to making this again is to do a broad back adjustment as you can see the fabric pulling a little on the back of the arms when stretching forwards.
I genuinely look forward to making more menswear. I might actually try a pair of jeans – it’s got to be easier to fit for a man than to make my curves look good in those things?
Have you made any menswear yet? I’d love to hear some of your tried and tested patterns!