It’s not a cocktail dress unless it glistens.
A personal motto
When I saw this metallic floral brocade on the Fabric Guys website I only had a couple of garments under my belt. But this wishful novice knew that it would be the perfect fabric for a cocktail evening or a trip to theatre. I had no idea what I was going to make with it but I knew that, one day, I’d have the skills to make something beautiful so I got a few metres for my stash.
Fast forward a couple of months and I’m confident enough to give anything a shot.
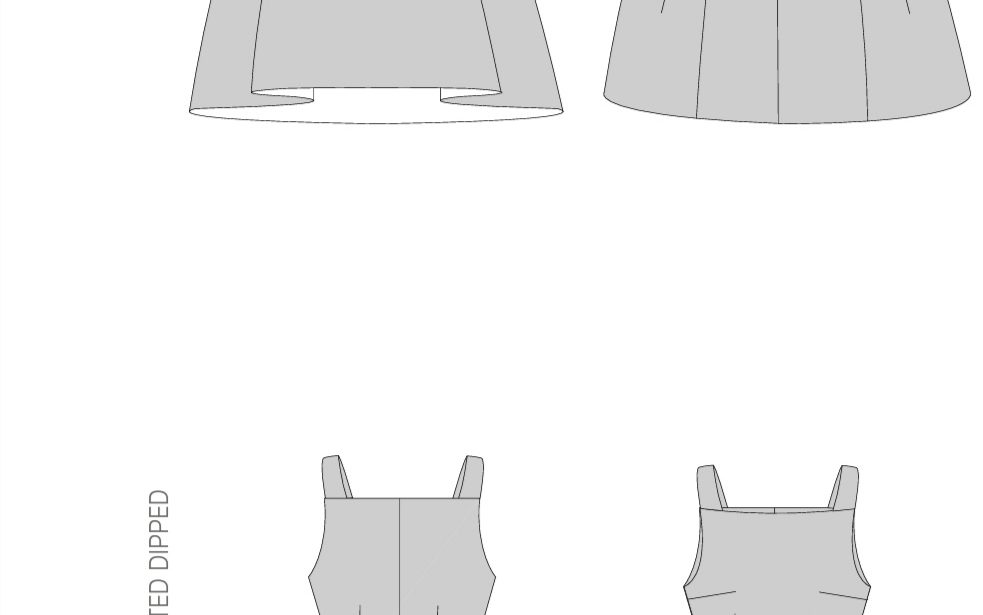
When I saw By Hand London’s Flora dress I knew I had to give it a go – the dropped hem circle skirt appealed to me instantly. I loved the look of the faux wrap dress but I had read a few reviews of the pattern that testified to nightmares with the fit and sizing so I didn’t even risk that for my first attempt at the pattern – life is too short and there are so many other patterns out there that may not come with those difficulties. Instead, I opted for the tank neckline (which wouldn’t really be my usual style but I think it would look lovely with pin-curls and an up-do).

I’ve sent off for print copies of BHL’s Hannah dress, a flattering wrap dress with a daring V-neckline and gathered skirt so I’ll experiment with that one next.
The pleats of the Flora skirt beg for definition so I took this as the sign to use my metallic floral black brocade fabric – may as well go all out with the dramatic effect of the skirt.
This dress spoils you for choice of fabrics – anything woven is perfect for this – if I were to make it again I’d use a lighter fabric such as twill just for variation and to see the difference in skirt definition and volume. I don’t regret going for a more stable and firmer fabric this time, though. I love the finished product.
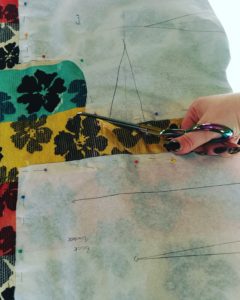
This pattern was an absolute breeze – the bodice (which is lined), insertion of the straps and the joining of the bodice to the skirt took took me about 1hr30mins (bear in mind, I’m a beginner so anyone with a bit more experience will do it faster). The zipper is a standard invisible 22″ zip – I had to wait a couple of days on the post as I’d run out, which was the most frustrating element of this make! The most time was taken up hemming the long length that makes up the skirt and slip stitching to finish attaching the bodice lining at the waist, a technique I’m slowly learning to enjoy.
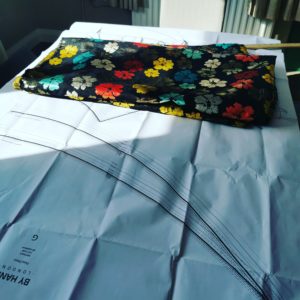
It’s generally recommended for a skirt like this that you let it hang for a day before hemming – I think, given the rigidity of the brocade, I could have skipped this step but I was waiting for a zip delivery, so it was outside of my control and the dress had to put aside temporarily.

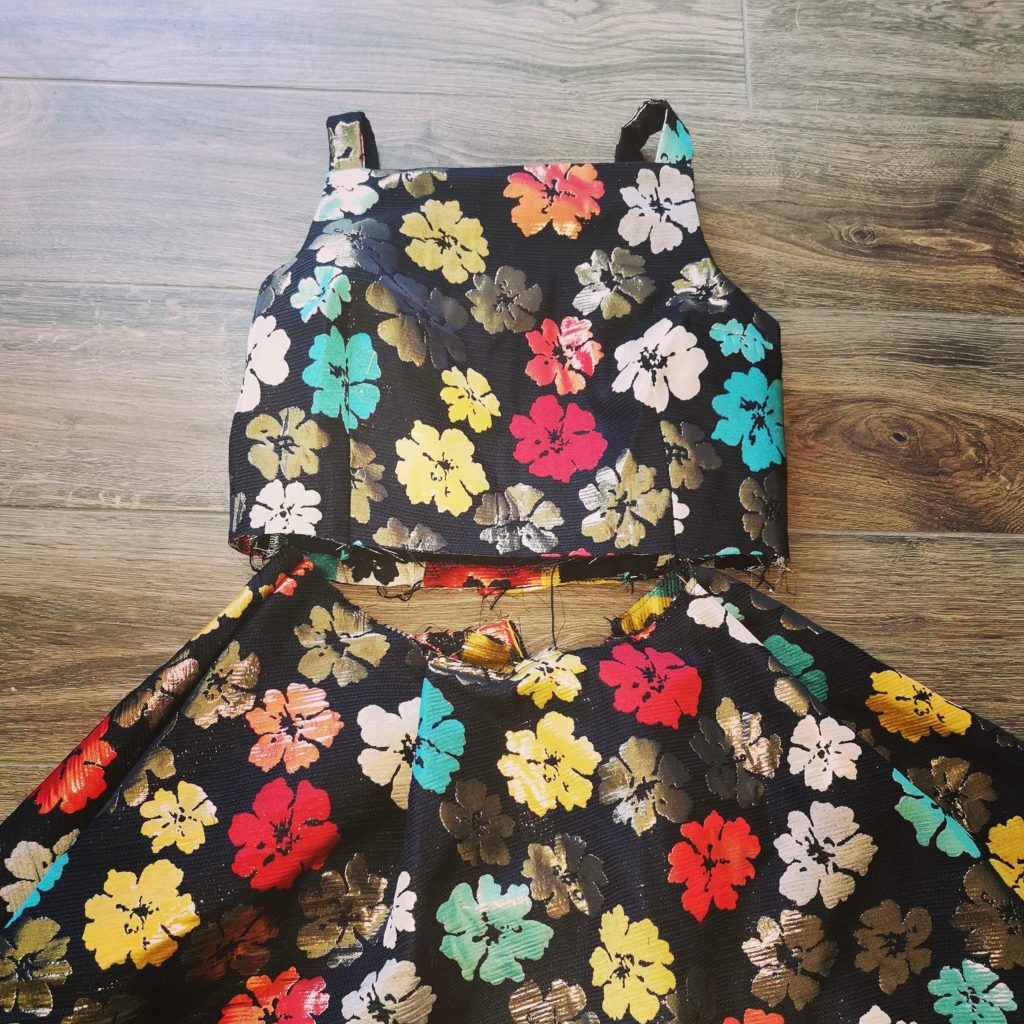
When you see it finished, it so worth it the effort (obviously, the image above is not the finished project. I didn’t blind hem the dress (although it is recommended in the pattern instructions) but top stitching worked just fine. I also machine stitched the lining of the dress to the sides rather than hand stitching which is suggested. Hand stitching the lining at the waist was quite enough hand sewing for me.
One thing I’d do differently if I could turn back the clock – pattern matching. It’s been put on my list of skills to master. I’ve never really given much thought to it before as I was more concerned with mastering the basics. When it did cross my mind, I was 70% finished and – given the (understandably) long time it is taking for Royal Mail to deliver parcels during the pandemic – didn’t want to wait another 1-2 weeks to order more of the fabric to redo sections (it’s taking up to a fortnight for deliveries to arrive in Northern Ireland from certain parts of England at the moment).
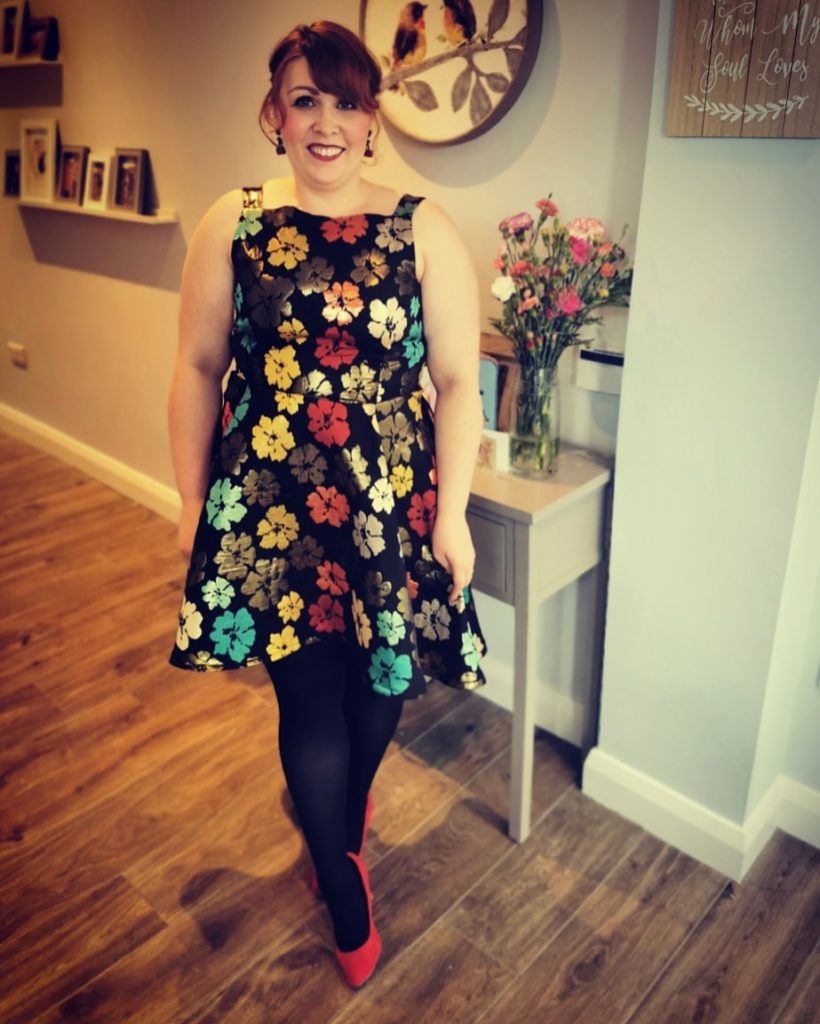
In conclusion, though, this is an amazing pattern and I had none of the major issues with the fitting that I have read about in other pattern reviews (usually with the wrap variation). I’ll make this one again.
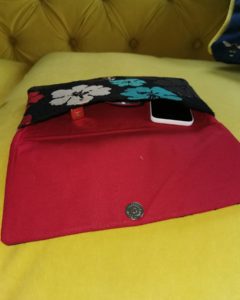
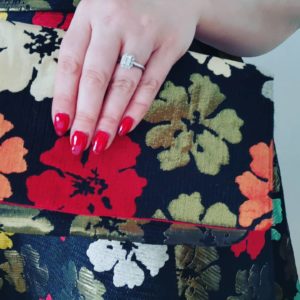
Bonus project – I had a little fabric leftover so I thought it would be nice to make up a quick clutch to match the dress, which is made from 3 squares of fabric. I love a stash buster – I’ll try to get a tutorial up for it the next time.
My next couple of mini makes are going to be using up leftover fabric from previous projects as they’re starting to pile up and one of my main reasons for sewing was to be sustainable so it’s time to start using that ‘waste’ wisely.
