
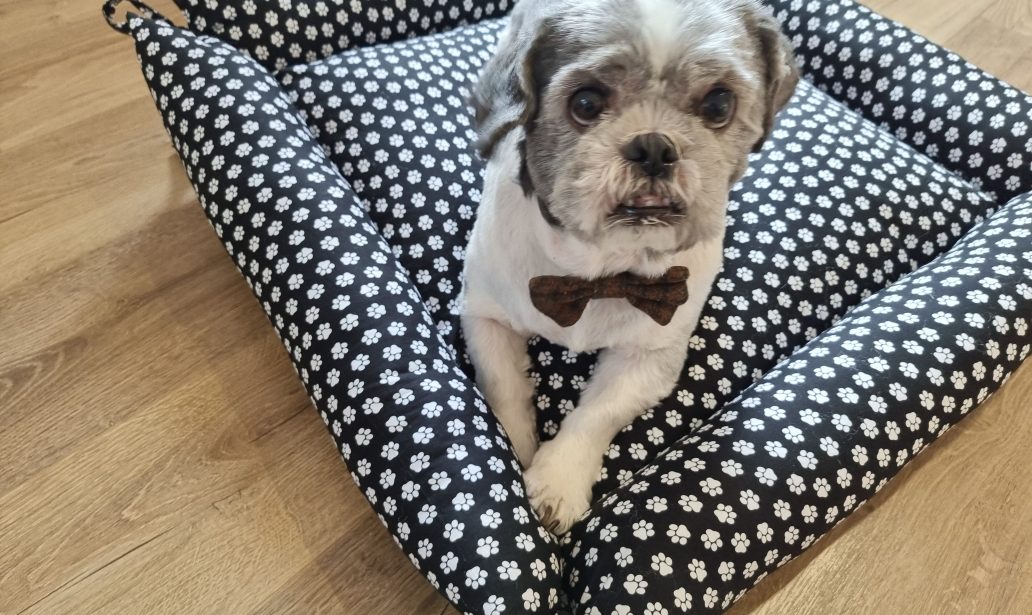
Fancy making a new bed for your furry friend?
This one is Gatsby approved.
You will need the following:
- A square cushion pad
- A zip
- Washable toy filler (in case it gets dirty)
- Your chosen fabric – cotton, denim, canvas or upholstery fabrics are perfect, depending on how hard wearing you need it to be.
For mine, I chose a 24″ cushion with a 25″ zip. I used 1.5m of fabric and approximately 650g of toy filler. However, you can make this to whatever size you choose.
My dimensions of fabric (a cute paw print cotton from Minerva) were as follows:
1 x 25″ square (the top of the bed)
2 x 25″x12.5″ rectangles (the bottom of the bed)
4 x 25″x14″ rectangles (the sides of the bed)
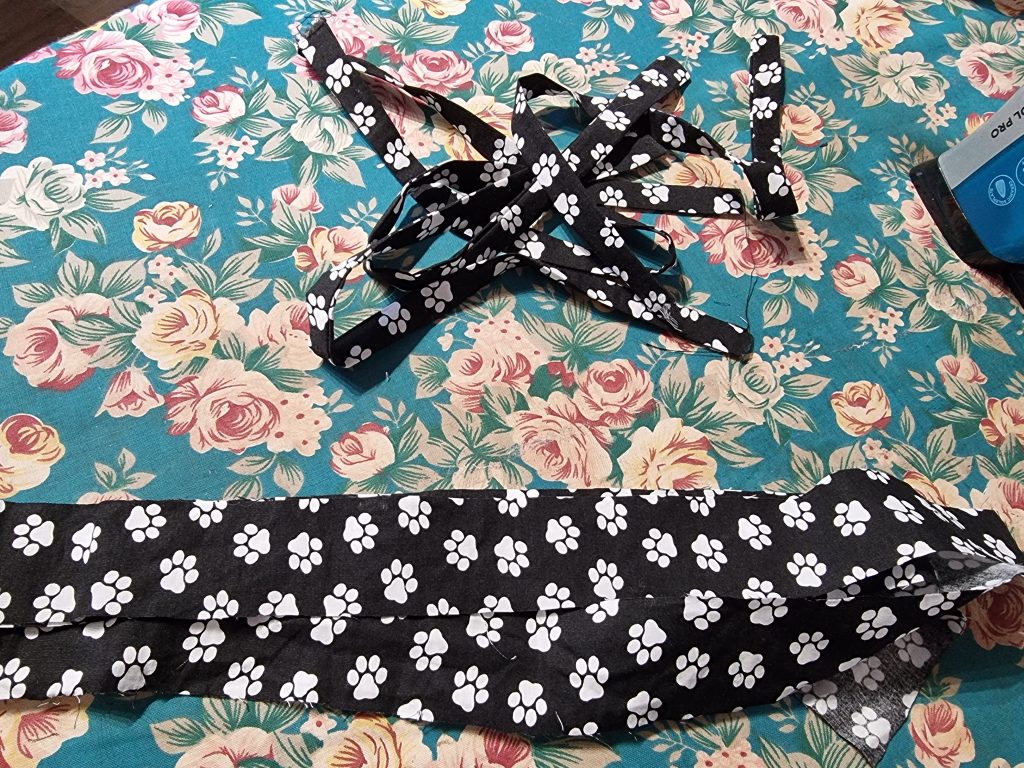
I used the scraps to make fabric rouleau straps for the cushions but you could use cord or ribbon
Step by Step
- Sew your zip to the two bottom pieces of fabric

2. If you have chosen to make fabric rouleau straps, do that now; otherwise, cut your ribbon or cord to around 8-10″ (long enough to tie in a bow)
3. Fold the rectangular pieces of fabric in half (lengthwise) and attach your straps to either side a couple of inches down from the fold. Make sure you stay within the seam allowance which is 1/2″. Repeat this for all four rectangles and baste in place.

4. Sew the short sides; one side you will sew down completely and the other you’ll want to leave approximately three inches of an opening as you will need to stuff them later. It really doesn’t matter which side you choose.
The turn them right side out.
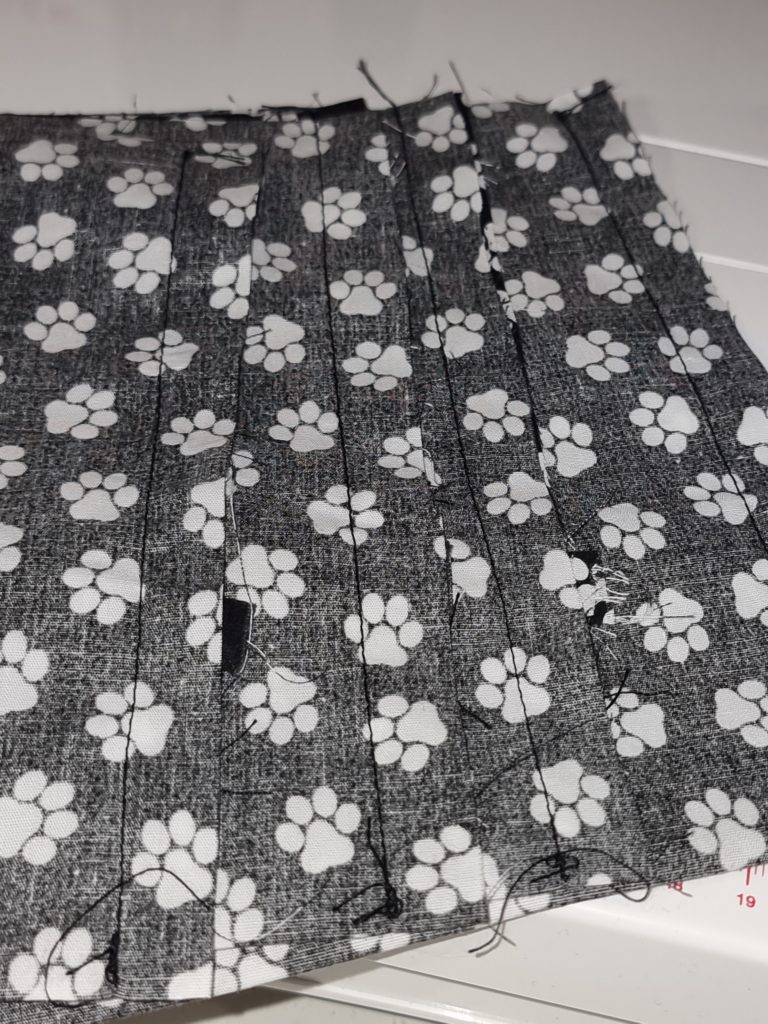
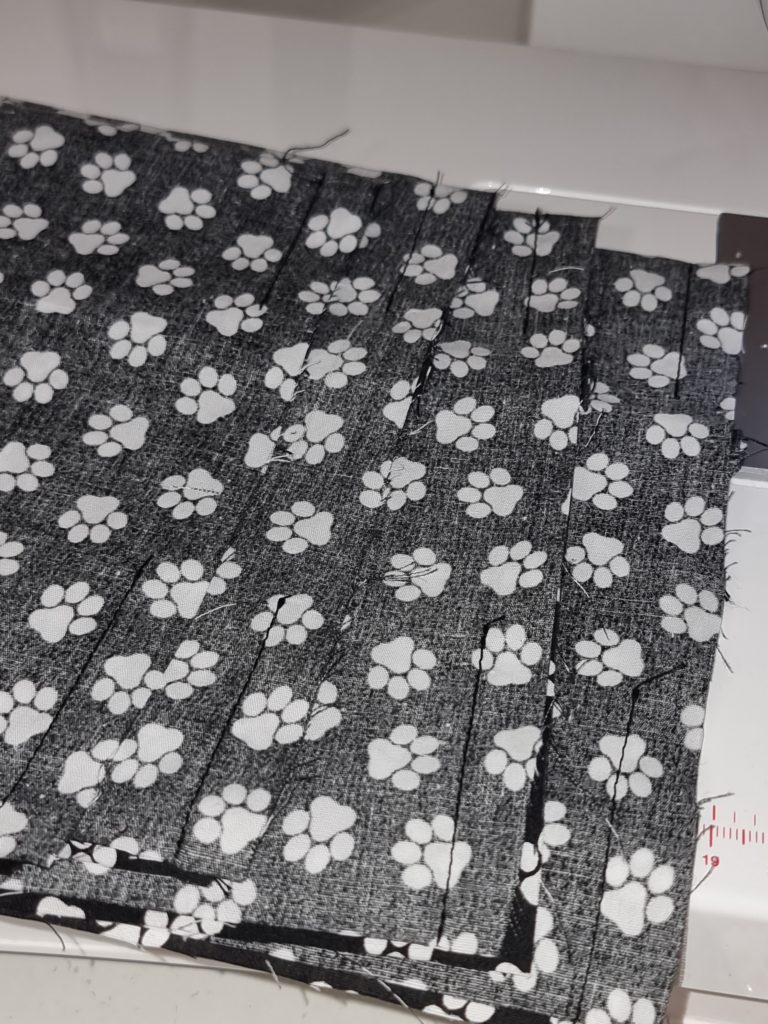
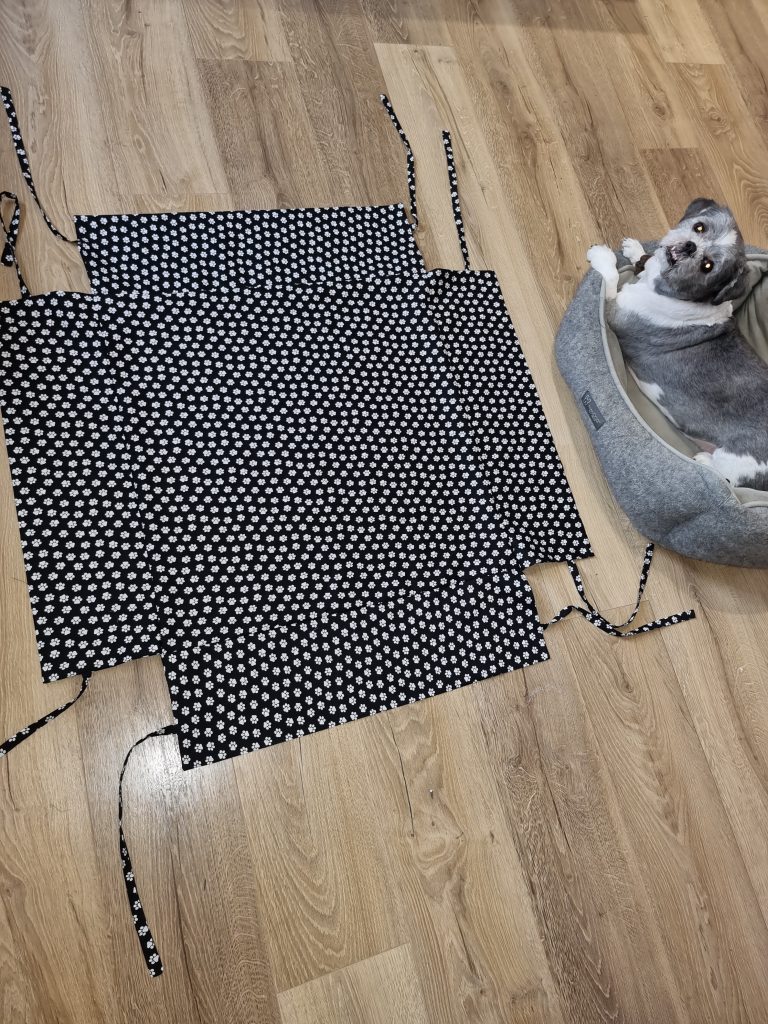
5. Sew each of the rectangular pieces to the top square piece. There will be about a cm either side. When you do this, you will have something that looks like this.
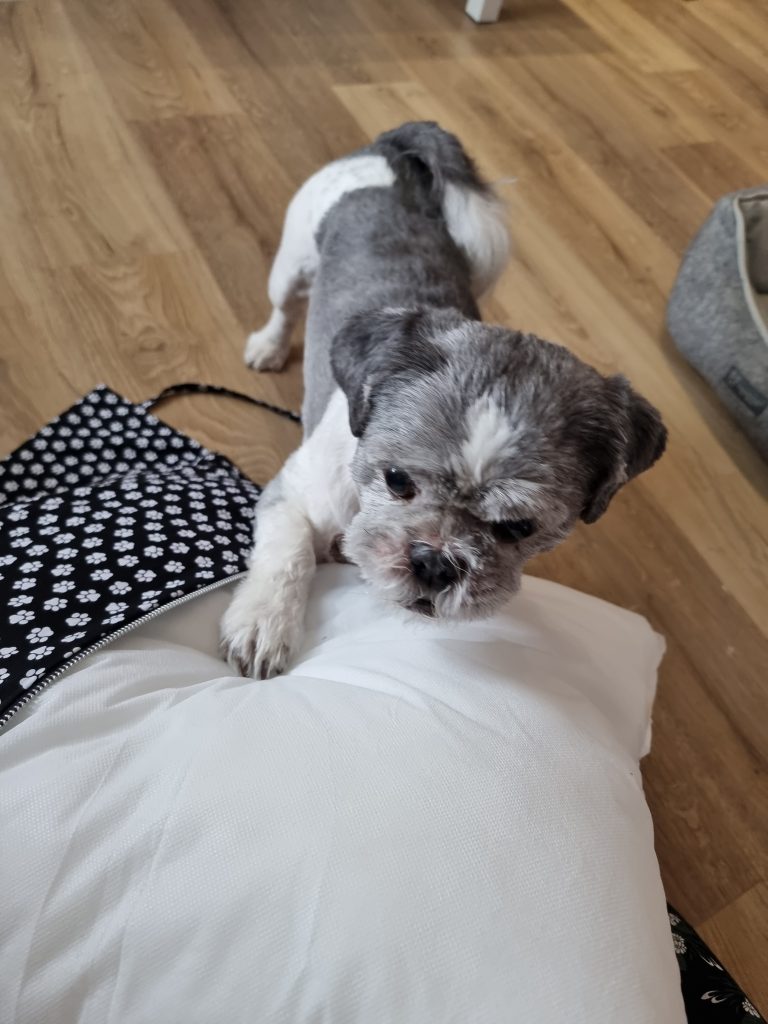
Gatsby is keeping an ever watchful eye to ensure steady progress.
6. Next, you will want to fold all the rectangles into the square.
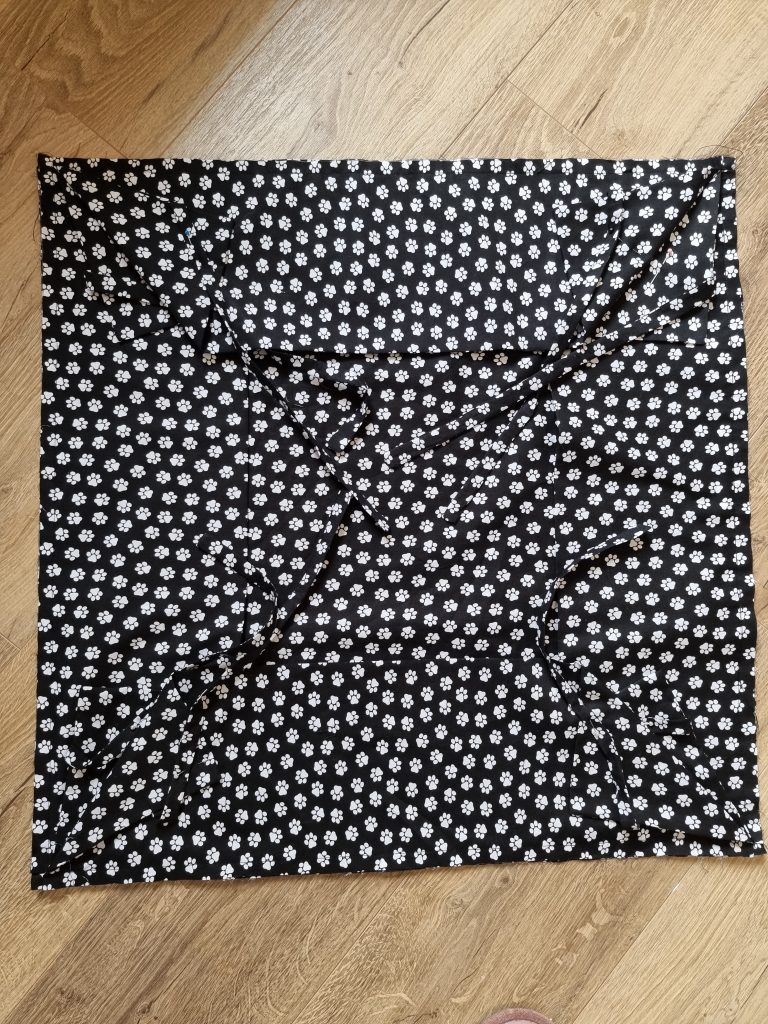
Sorry, black isn’t the easiest colour to photograph but hopefully you can see that I’ve folded the corners in and pinned the straps because the last thing we want is to catch these when we are sewing the bottom fabric on top.
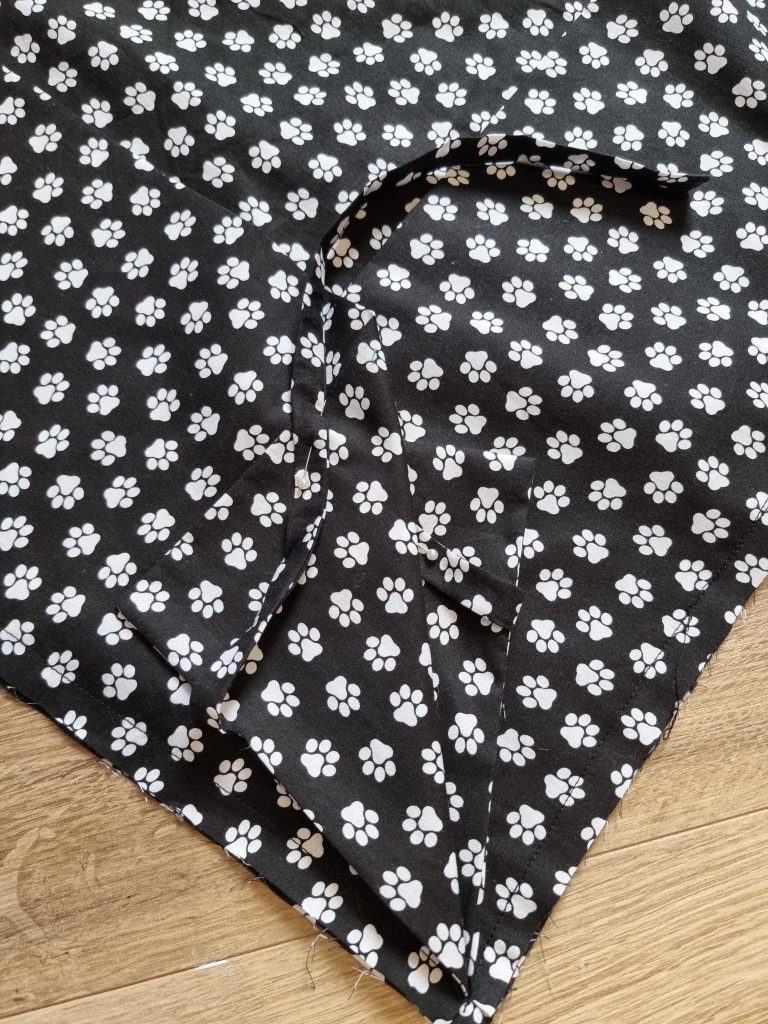
7. Put the bottom zipper square on top, right sides together. You’ll want to make sure you leave the zipper open a little bit to allow you to turn it out the right way.
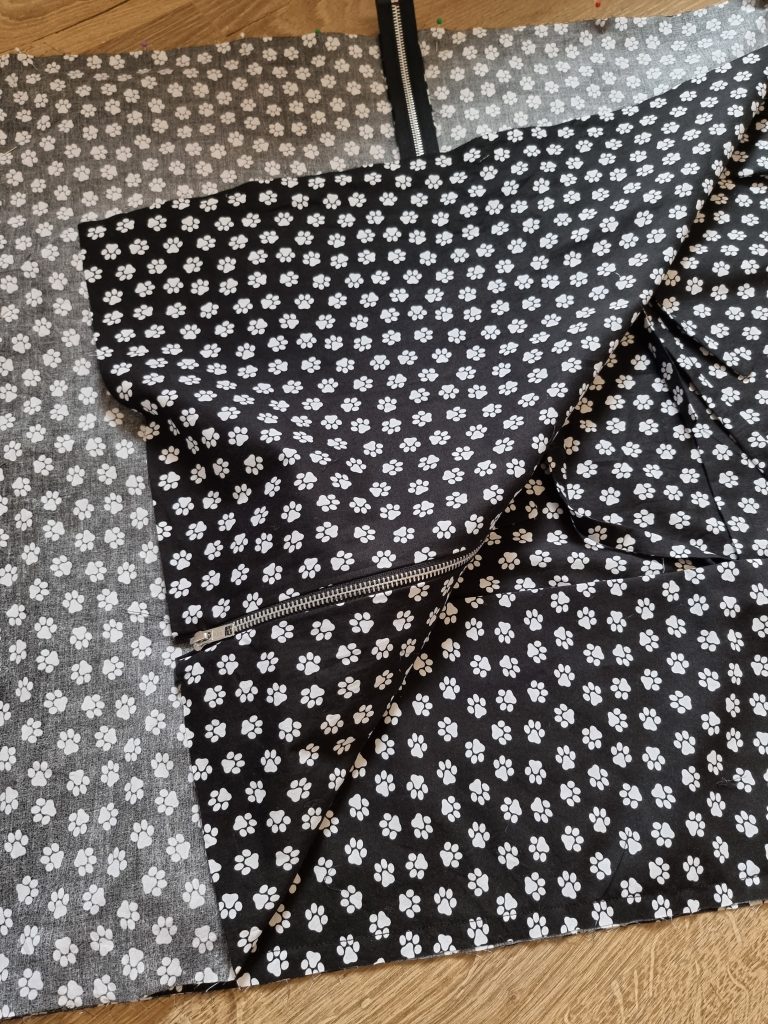
Pin the layers together and stitch with a 1/2 in seam allowance.
Turn the bed right sides out. At this point Gatsby was getting even more curious.

Insert your cushion; you might like some assistance. Or in my case, there was no option.
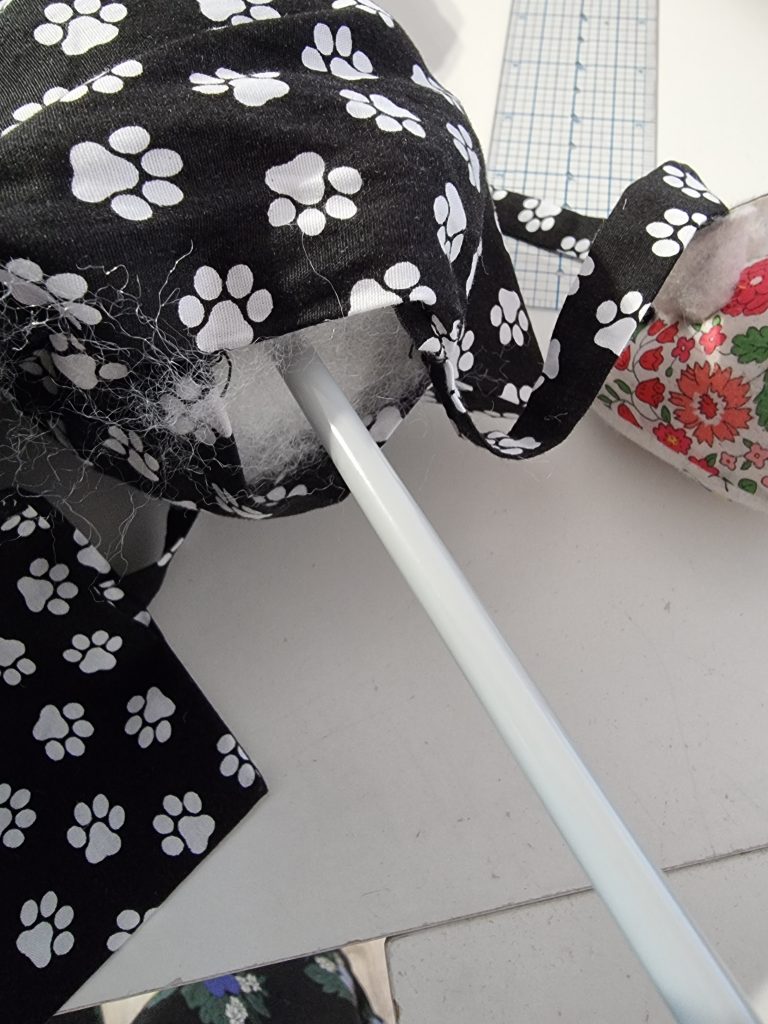
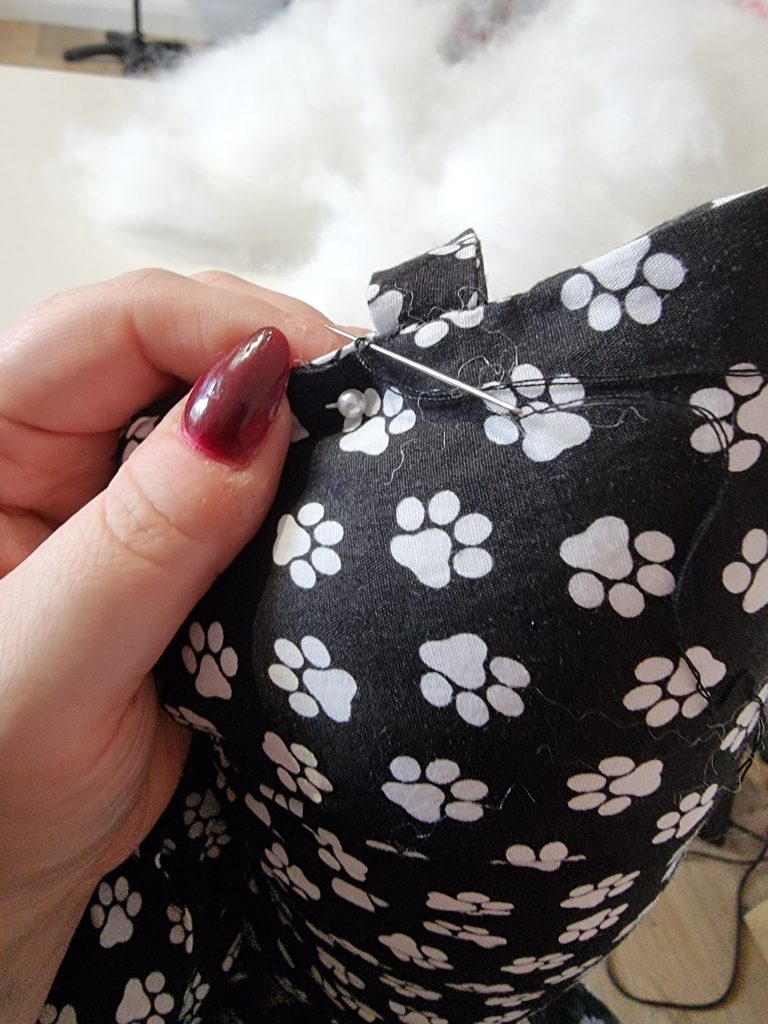
8. Now it’s time to stuff the sides. Take your time with this – don’t just stuff it in there. Loosen the filler and insert a little at a time, using a knitting needle or a loop turner or something similar to push the stuffing down. It will settle more evenly this way. Then, hand stitch the openings in the sides of the bed.
9. Optional – I added a little iron on motif to the front of mine.

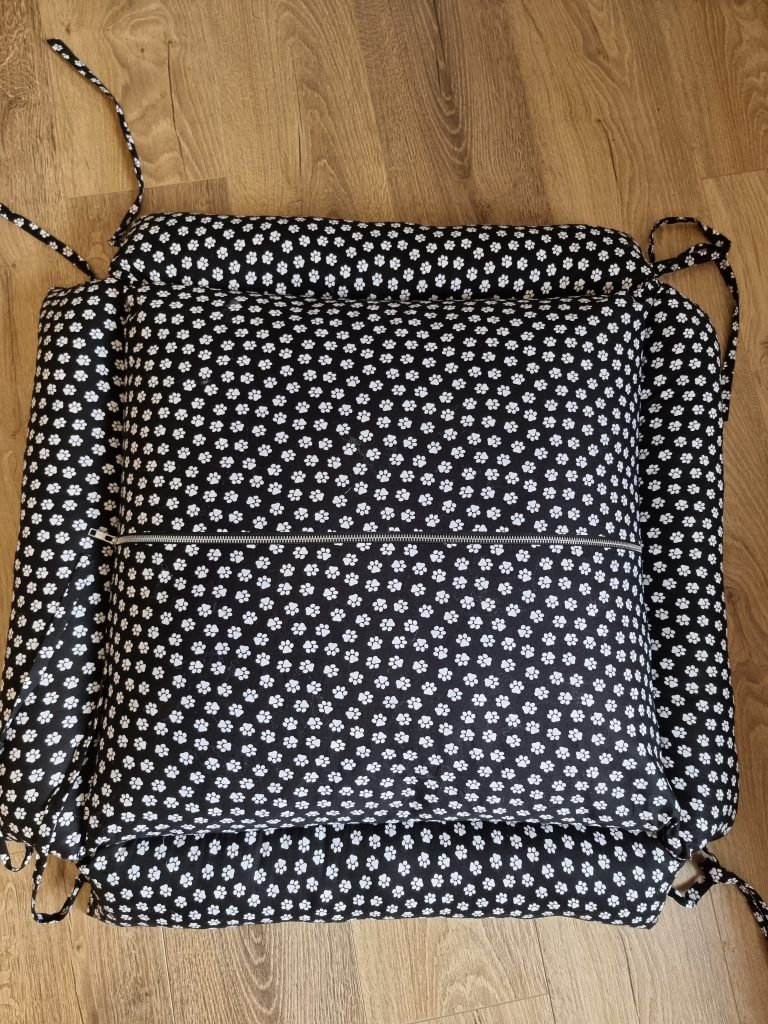
10. All that remains is to tie the four corners to bring together the sides are you’re done.
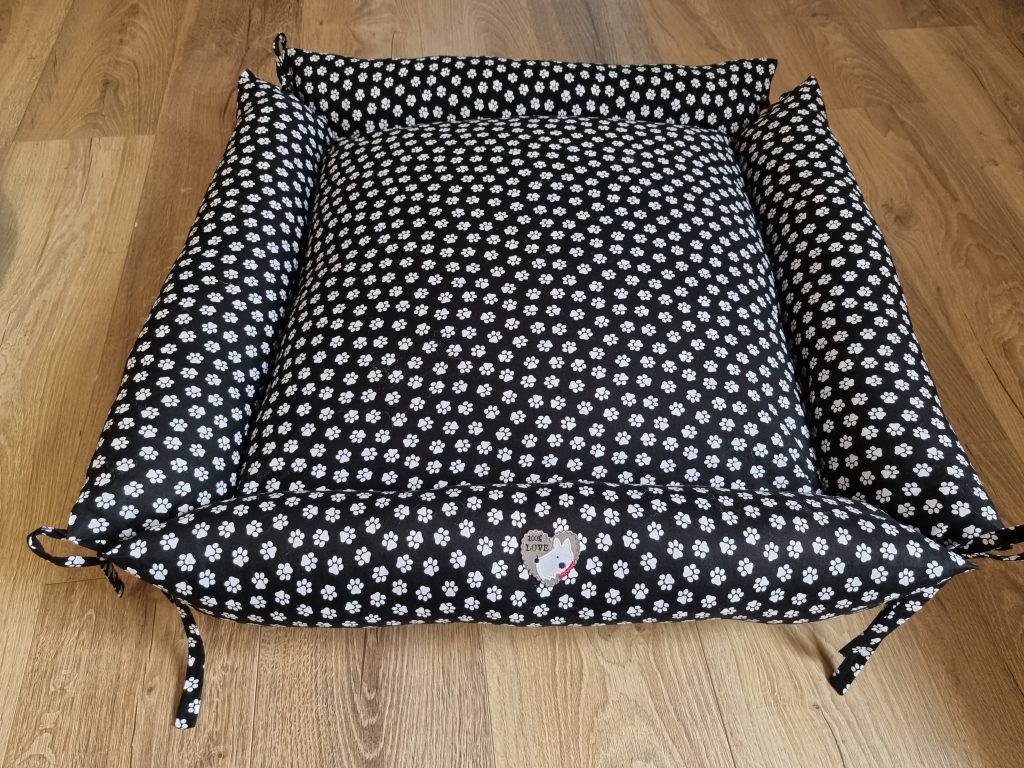
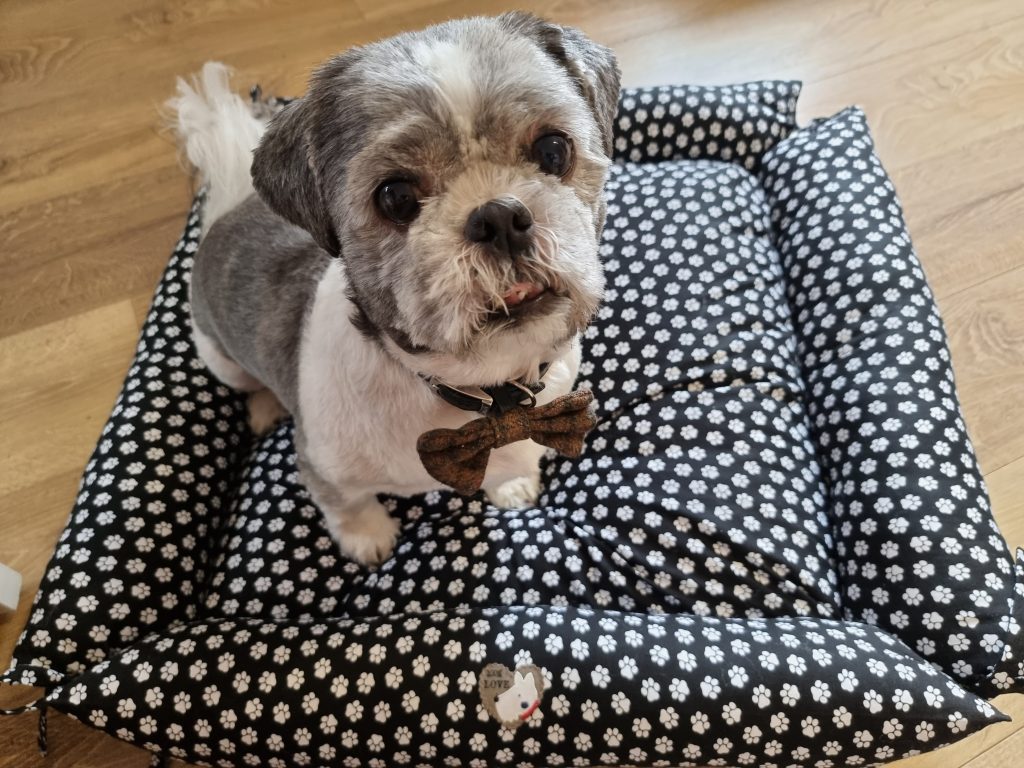
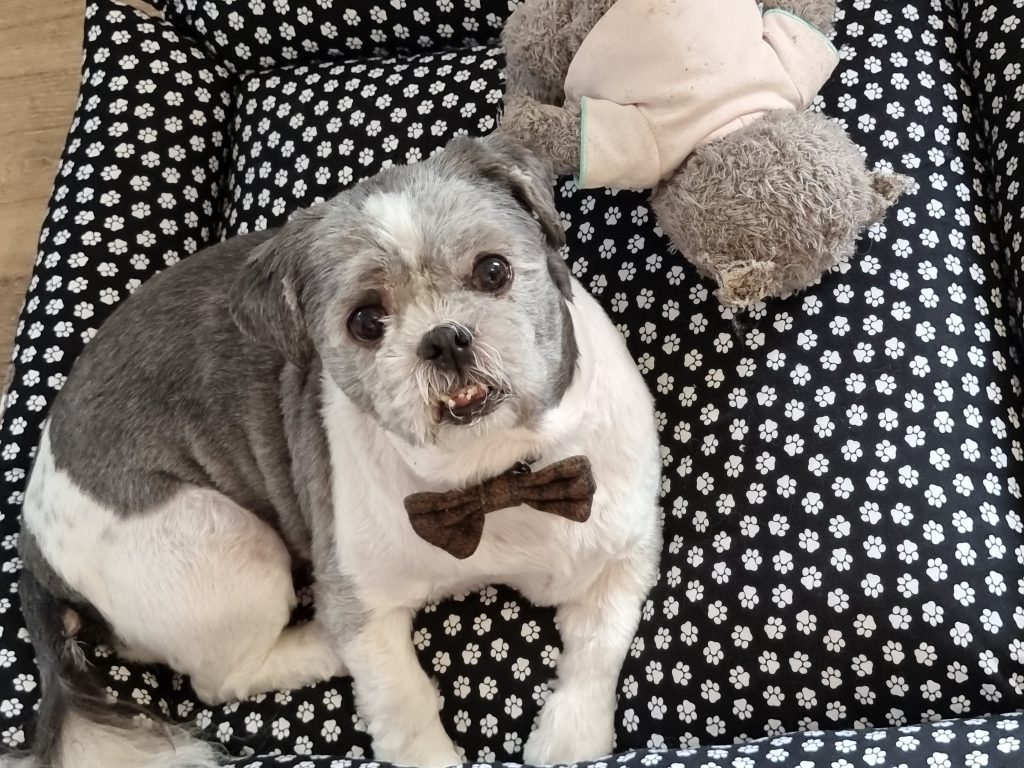
I think Gatsby is more than happy with his new bed.

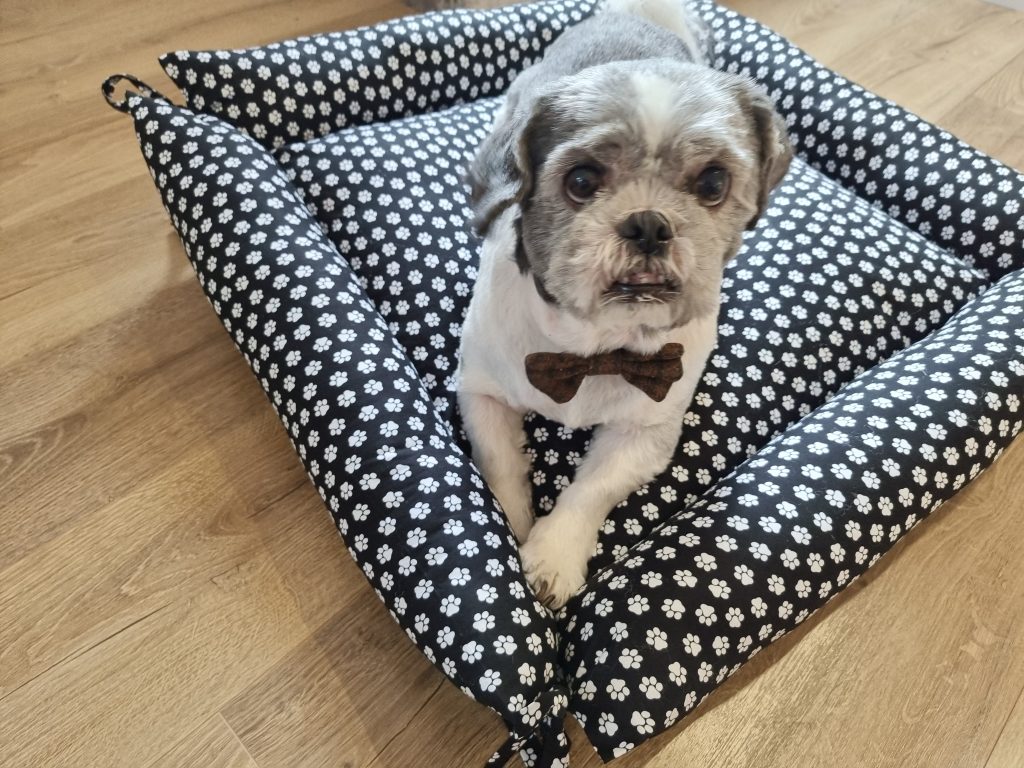
This is the perfect DIY for a rainy afternoon.
1 comments on “DIY Dog Bed”